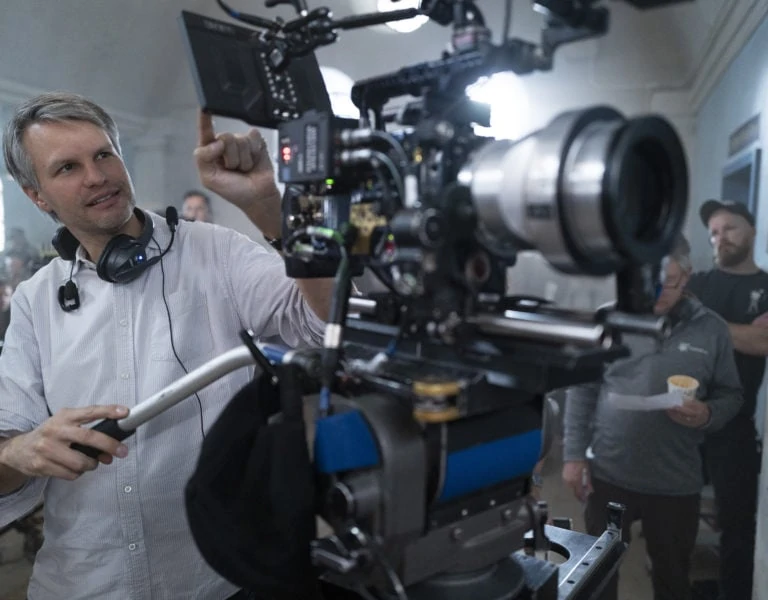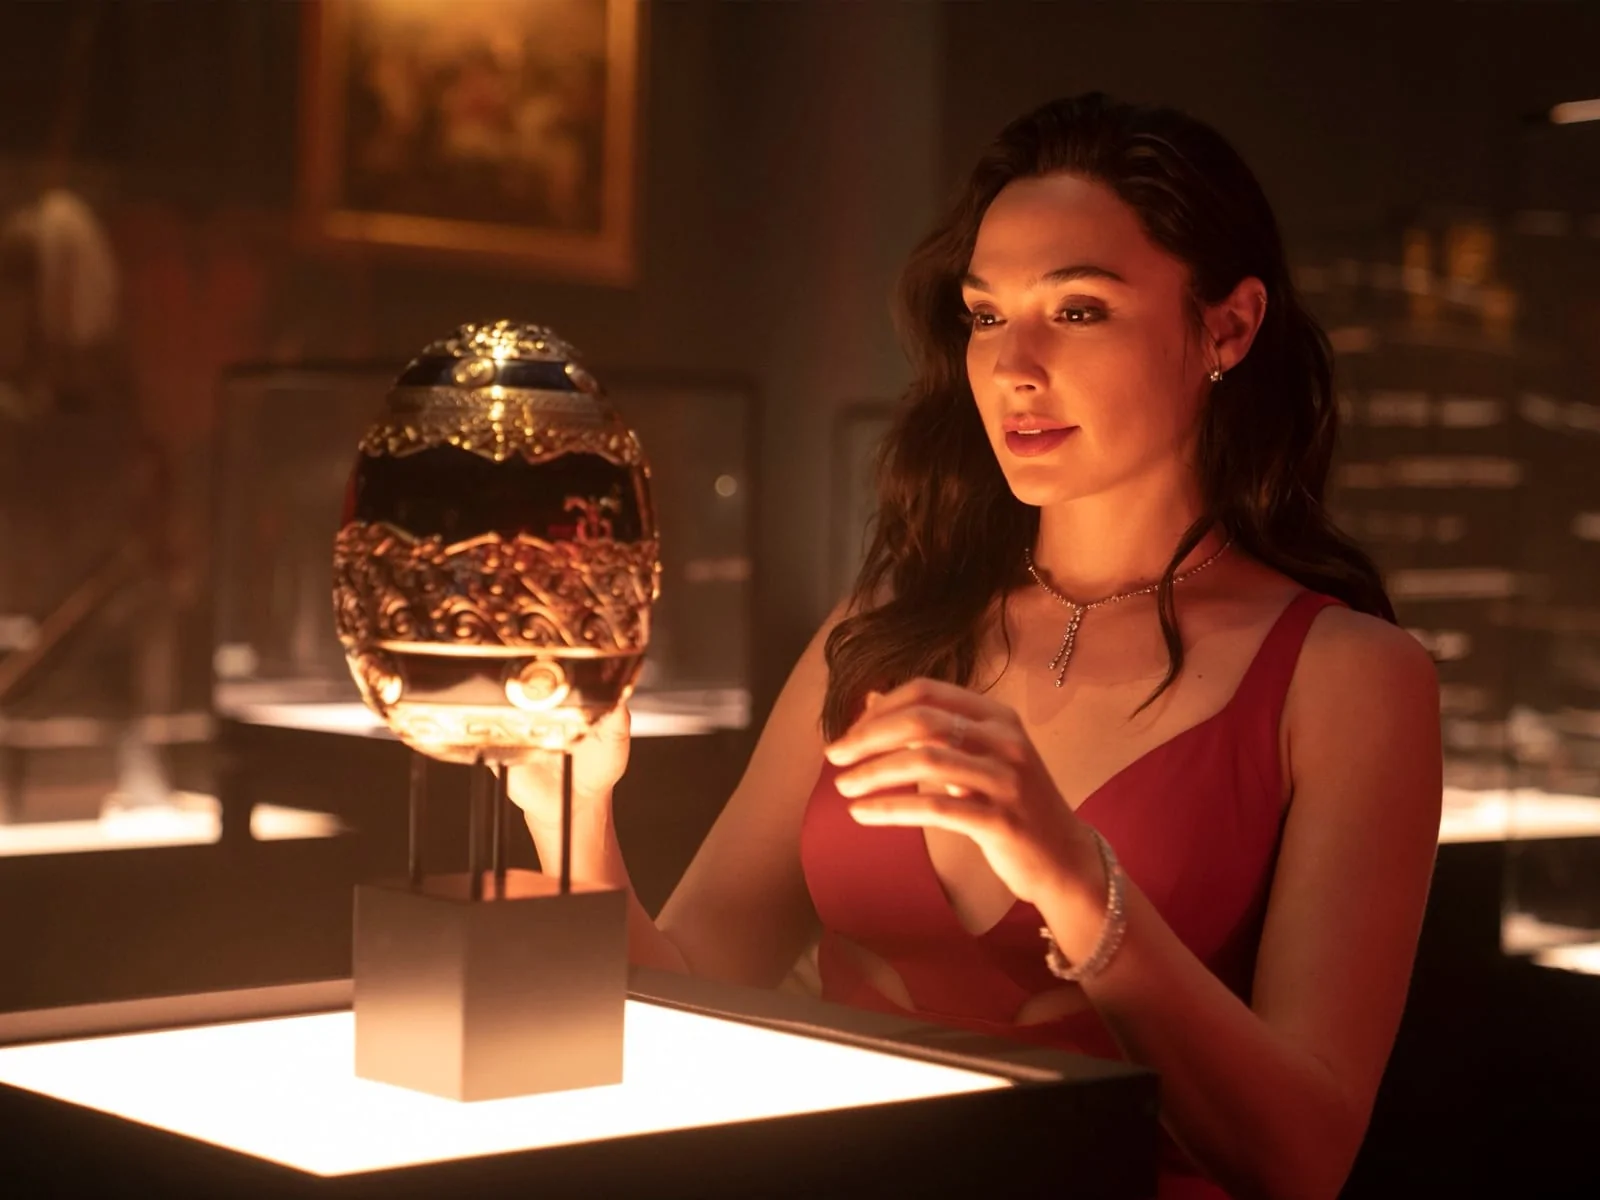
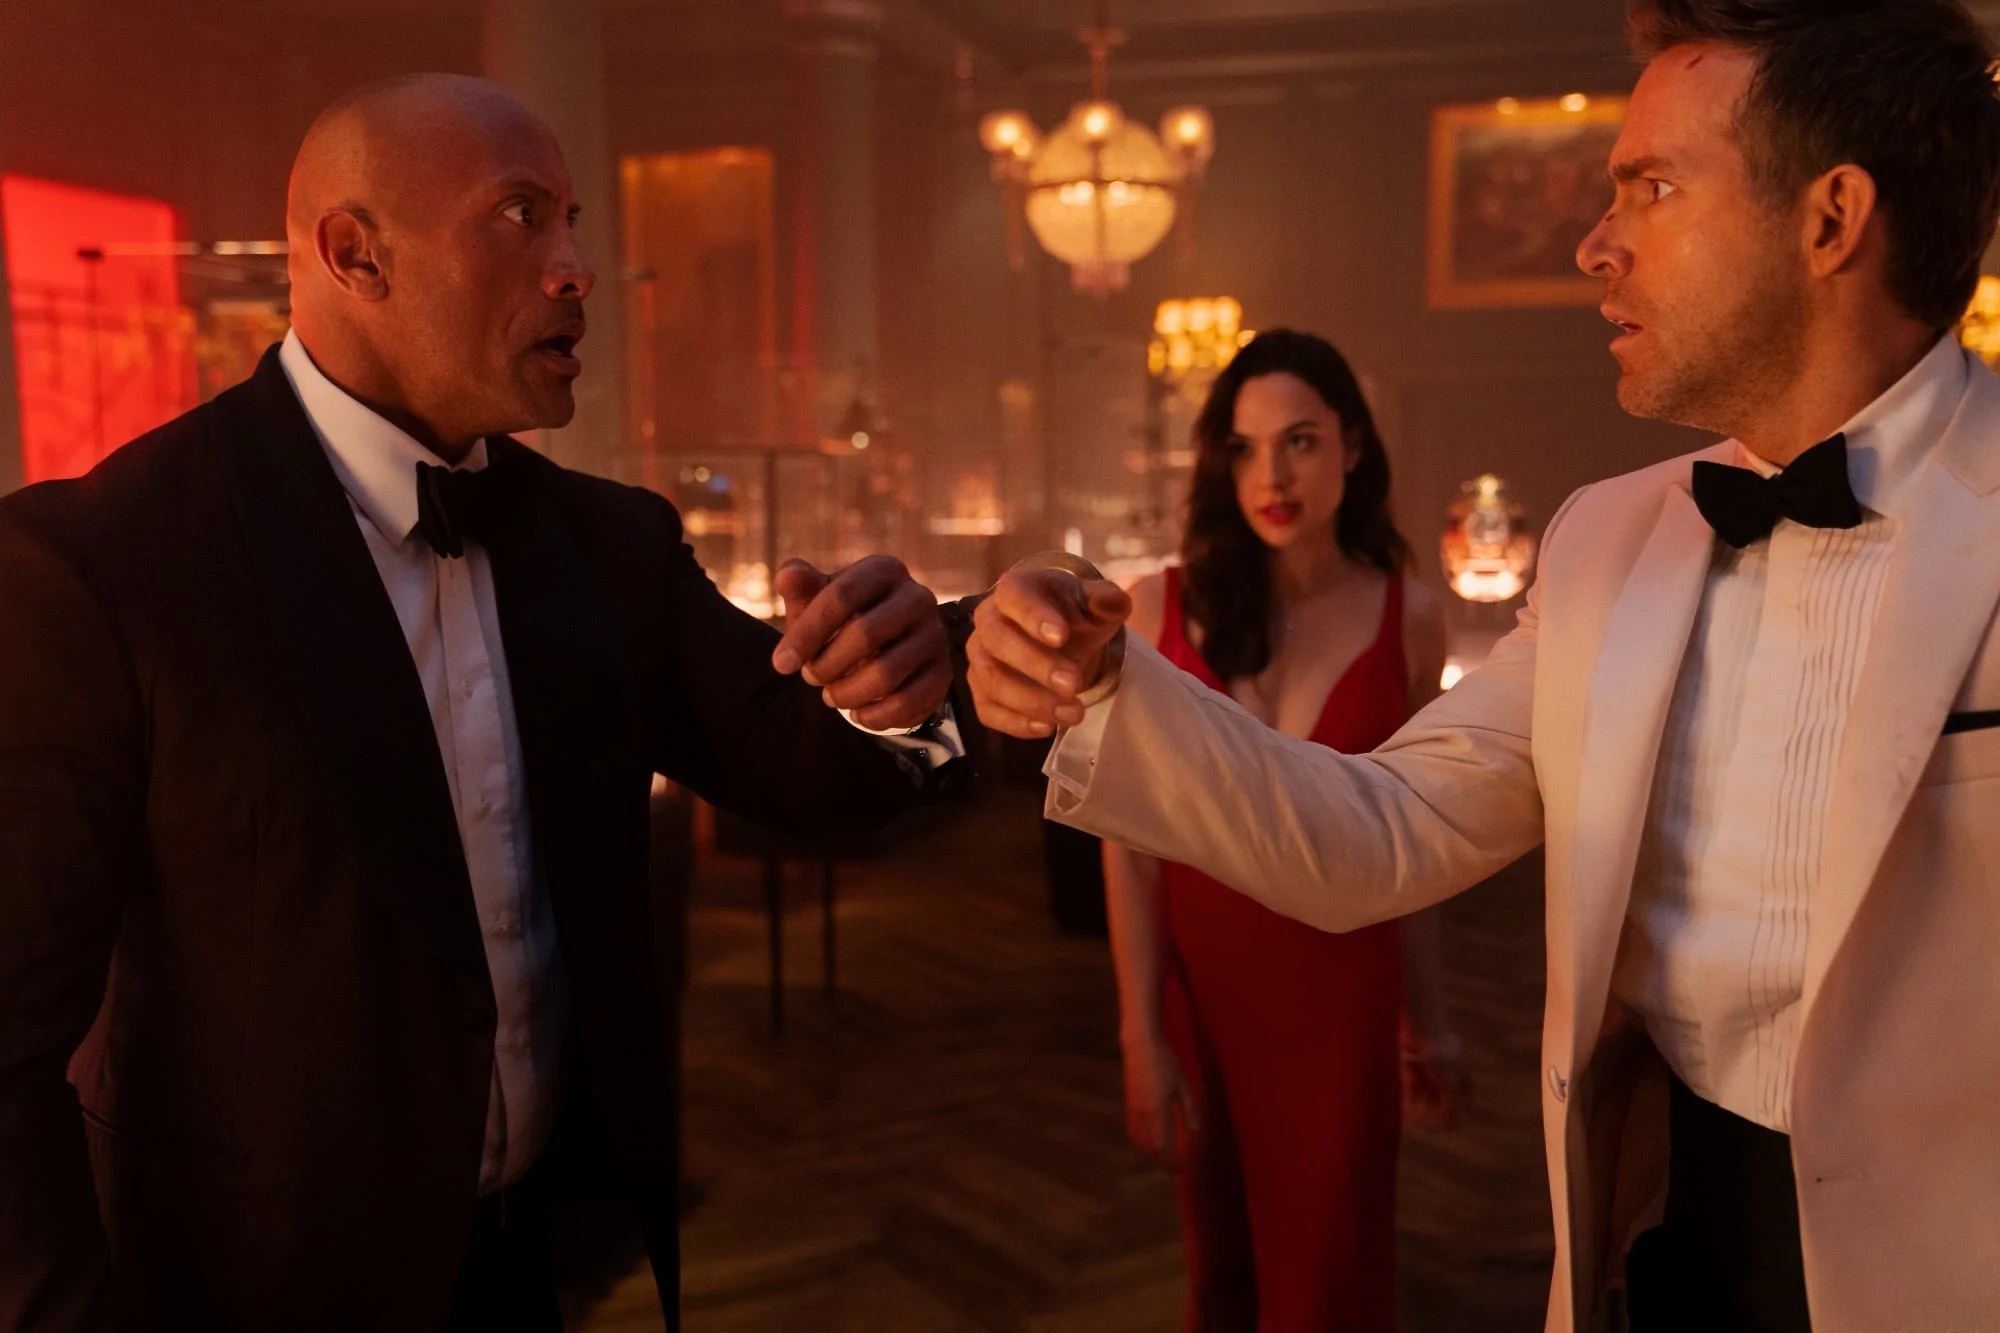
An international crime adventure, Red Notice follows FBI profiler John Hartley (Dwayne Johnson) as he pursues art thief Nolan Booth (Ryan Reynolds). Hartley must partner with Booth to catch “The Bishop” (Gal Gadot), an elusive art thief herself who is attempting to steal a trio of priceless bejewelled artefacts known as Cleopatra’s Eggs. Shot by Markus Förderer, ASC, the film is set in exotic locations around the world including Rome, Valencia and the jungles of Argentina.
Despite the international plot line, the film had to be scheduled to shoot during a point in the pandemic when international travel, much less film production, was not possible. “We had to rethink how to shoot our globetrotting movie,” said Förderer. “Without the ability to travel internationally, we ended up building the majority of our sets on very large stages and on a back lot in Atlanta. These scenes were always intercut with wide establishing shots we were able to capture with a reduced crew on the actual locations around the world.”
The challenge between principal photography, visual effects (VFX) and finishing was to ensure that the various elements that made up each scene, and often a single shot, matched perfectly. “Matching the colours and lighting to blend seamlessly was a big task,” said Förderer, who worked with colourist Walter Volpatto of Company 3 early in pre production to help plan for the coming challenges. “Walter has a great eye to bring all those pieces together and also match VFX shots with our live action photography. This is always a tricky process and, in my experience, a crucial step. No matter how good the VFX shots are, there is always something we can do in the grade to make them appear as if they were captured through an actual lens. We emulate certain lens characteristics like flaring and edge contrast.”
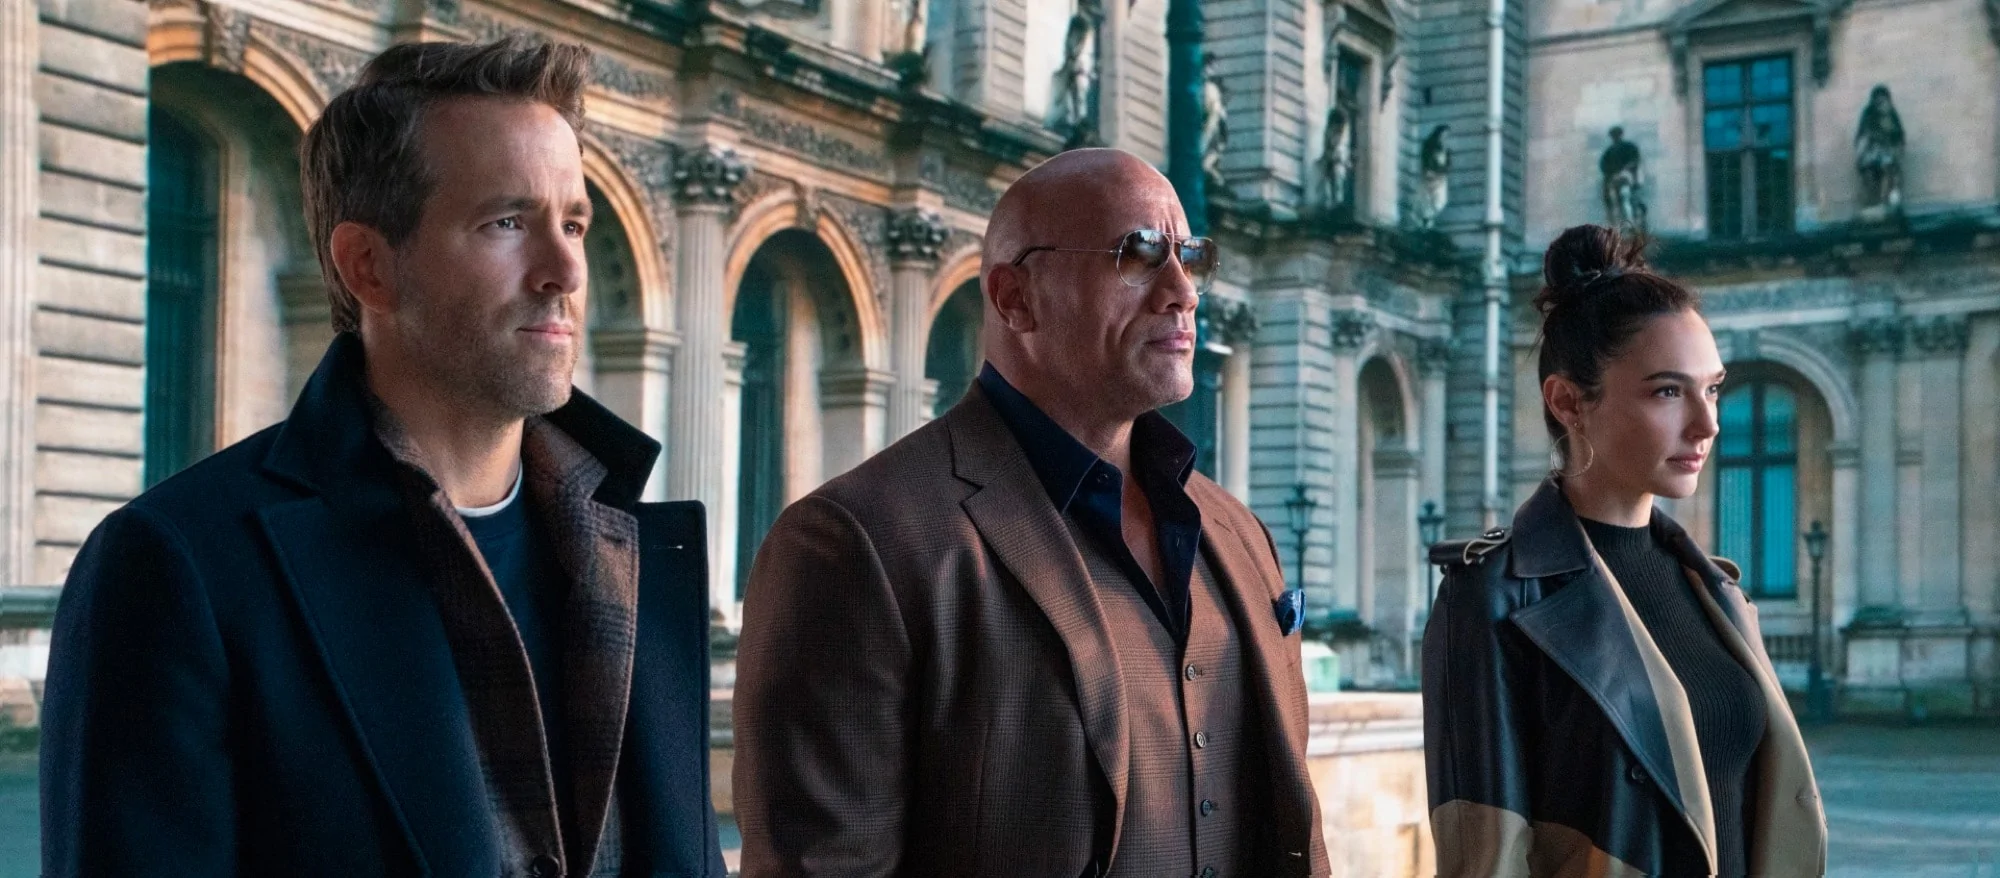
Volpatto and Förderer were comfortable in the collaboration, having worked together on five previous films. “I really like the style of his work and the way he works,” said Volpatto. In early discussions, Förderer and Director Rawson Marshall Thurber established a colour palette with red, gold and warm brown tones to complement the spectacular locations in the script. Volpatto found two scenes specifically to be a motivation for the range of the looks.
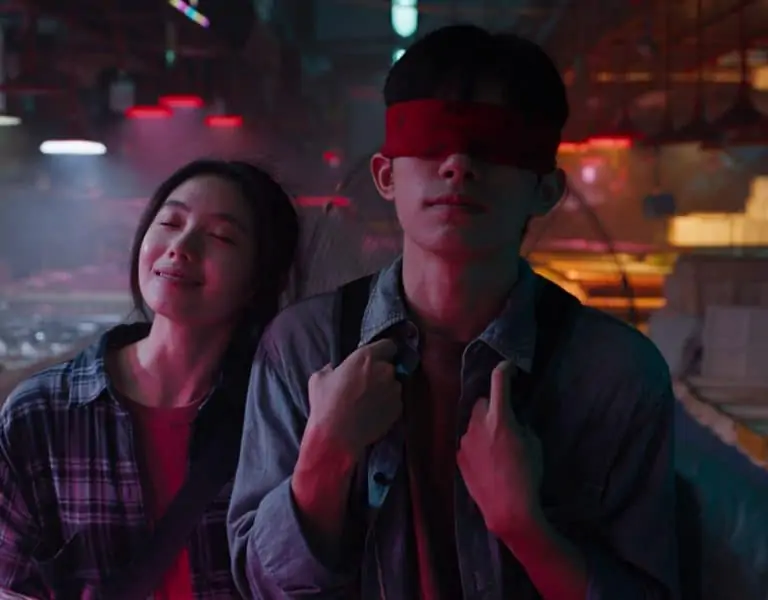
“A lot of the action takes place inside the ‘Red Room,’” said Volpatto. “The room itself and Gal Gadot’s red dress had to read a very pure red. We had the opposite look in a Russian jail, where it’s literally a cold place and would have a cooler colour palette. So, there are these two major colors popping up throughout the movie.” Early camera tests helped Volpatto and Förrderer create a single show LUT in DaVinci Resolve Studio that helped shape the various tones while helping represent skin tones in a gentle, natural way.
“We both like to prepare a look ahead of time in Resolve so that Markus can work on set almost as if he was shooting a customized film stock, setting the lighting with the characteristics of that single LUT in mind instead of carrying multiple LUTs,” said Volpatto. “He only has to think about his light meter and the lights, and he doesn’t even have to look at the monitor. It’s closer to the work method cinematographers used to use, where they would get to know everything about a particular stock, and then they would know exactly how to get the look they want for that stock. For the final grade, we sit together and shape the scenes and adjust the details. But the overall attributes of the image are set in advance so we’re not reinventing the wheel in the final grade.”
Despite the pre planning, the pandemic style shooting they were forced to adapt to created challenges at every level, including the grade. “Instead of being in a location with all the main talent, where you shoot and then go to a different location, they often filmed in different sections,” said Volpatto. “Some scenes were shot on location, but then after the pandemic hit, elements were shot in Atlanta, and then some more sections were added with some pickups.”
The result was the need for far more VFX than initially anticipated.
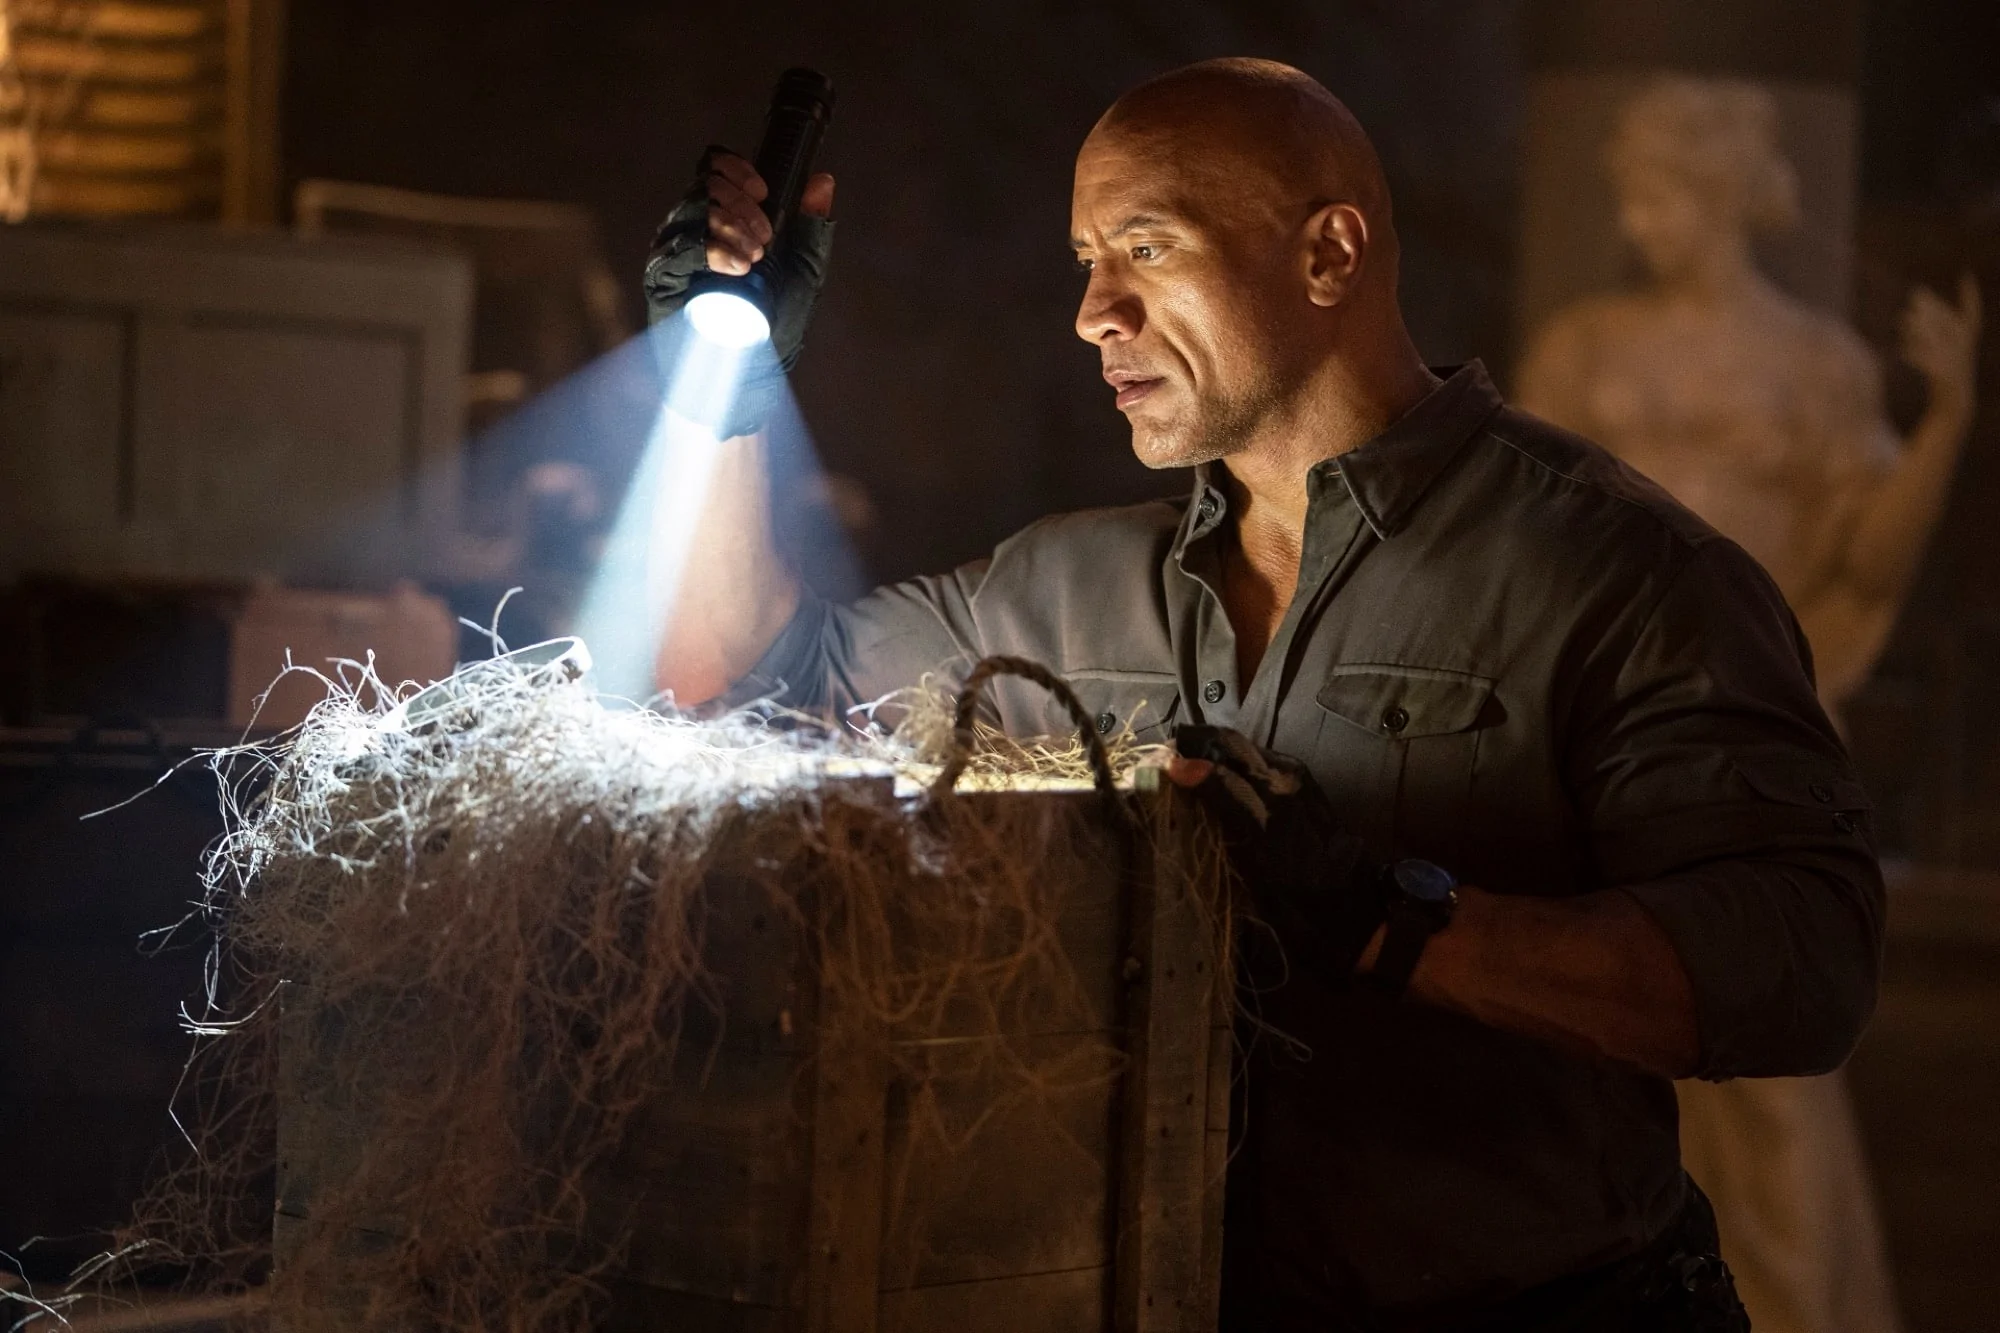
“Sometimes they’d have to shoot without extras and then shoot the extras and composite them and the backgrounds in as effects,” added Volpatto. The approach also affected scheduling. “Sometimes they were doing part of a scene with one actor because the other one was busy doing something else. So, they might shoot all the shots for Gal Gadot and then all the shots of Dwayne Johnson, and then we’d have to blend them together,” he said.
While VFX handled a lot of the compositing, Volpatto found himself blending elements to create a seamless marriage of VFX and non VFX shots. “We may have shots that were shot beautifully but would still need work to blend together with the surrounding material. A lot was done in VFX and sent to us as we did the colour, but we used some tools to just refine looks when different parts of the same scene had been shot many months apart.”
Using DaVinci Resolve Studio, Volpatto was able to create a P3 format project while also reviewing quickly for high dynamic range (HDR). “The Colour Space Transform in Resolve allowed me to look at the P3 and the HDR of the same image with literally a couple of clicks. So, I could do a colour correction for a scene then review it immediately in HDR and do whatever necessary trims I needed to do,” he said.
Using in house collaboration tools also helped Volpatto work quickly and efficiently, even as the expansive pickups and VFX shots continued to come in. “My finishing editor Chris Doerr and I both worked on the same project
within Resolve, which meant he was able to very quickly flag any shots that were going to be replaced, drop in the replacements and take care of some of the small VFX work that finishing editors do. He was on a workstation where he only had access to the Rec. 709 version, but I could immediately look at the new shot in my theatre, and by using the Colour Space Transform, I could immediately see the new shot in Rec. 709, P3 and HDR without having to drop in LUTs or do anything else to the node tree. I just had to adjust the outputs in the Colour Space Transform. It was very efficient. We never had to stop working for a moment,” he concluded.
