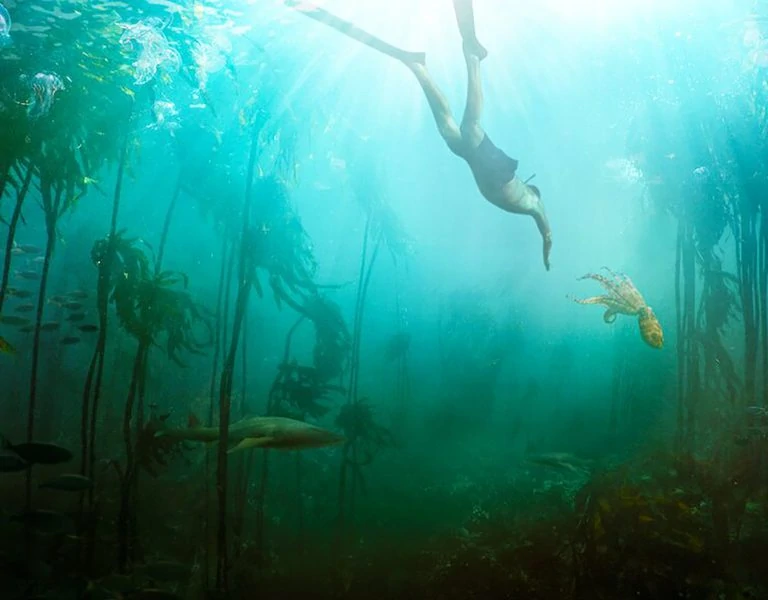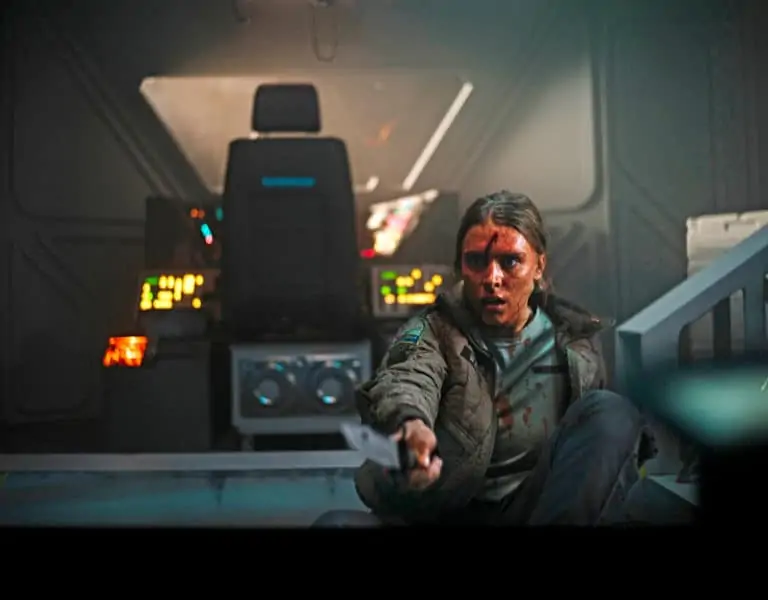
Three Wishes for Cinderella (Tre nøtter til Askepott) is a Norwegian remake of a 1973 Czech/German film directed in her feature debut by Cecilie Mosli (Mammon, Thin Ice).
Cinderella (played by Norwegian pop music star Astrid Smeplass) is empowered by three magical acorns to break free from her cruel stepmother’s tyranny and rescue the prince (Cengiz Al) from his gilded cage.
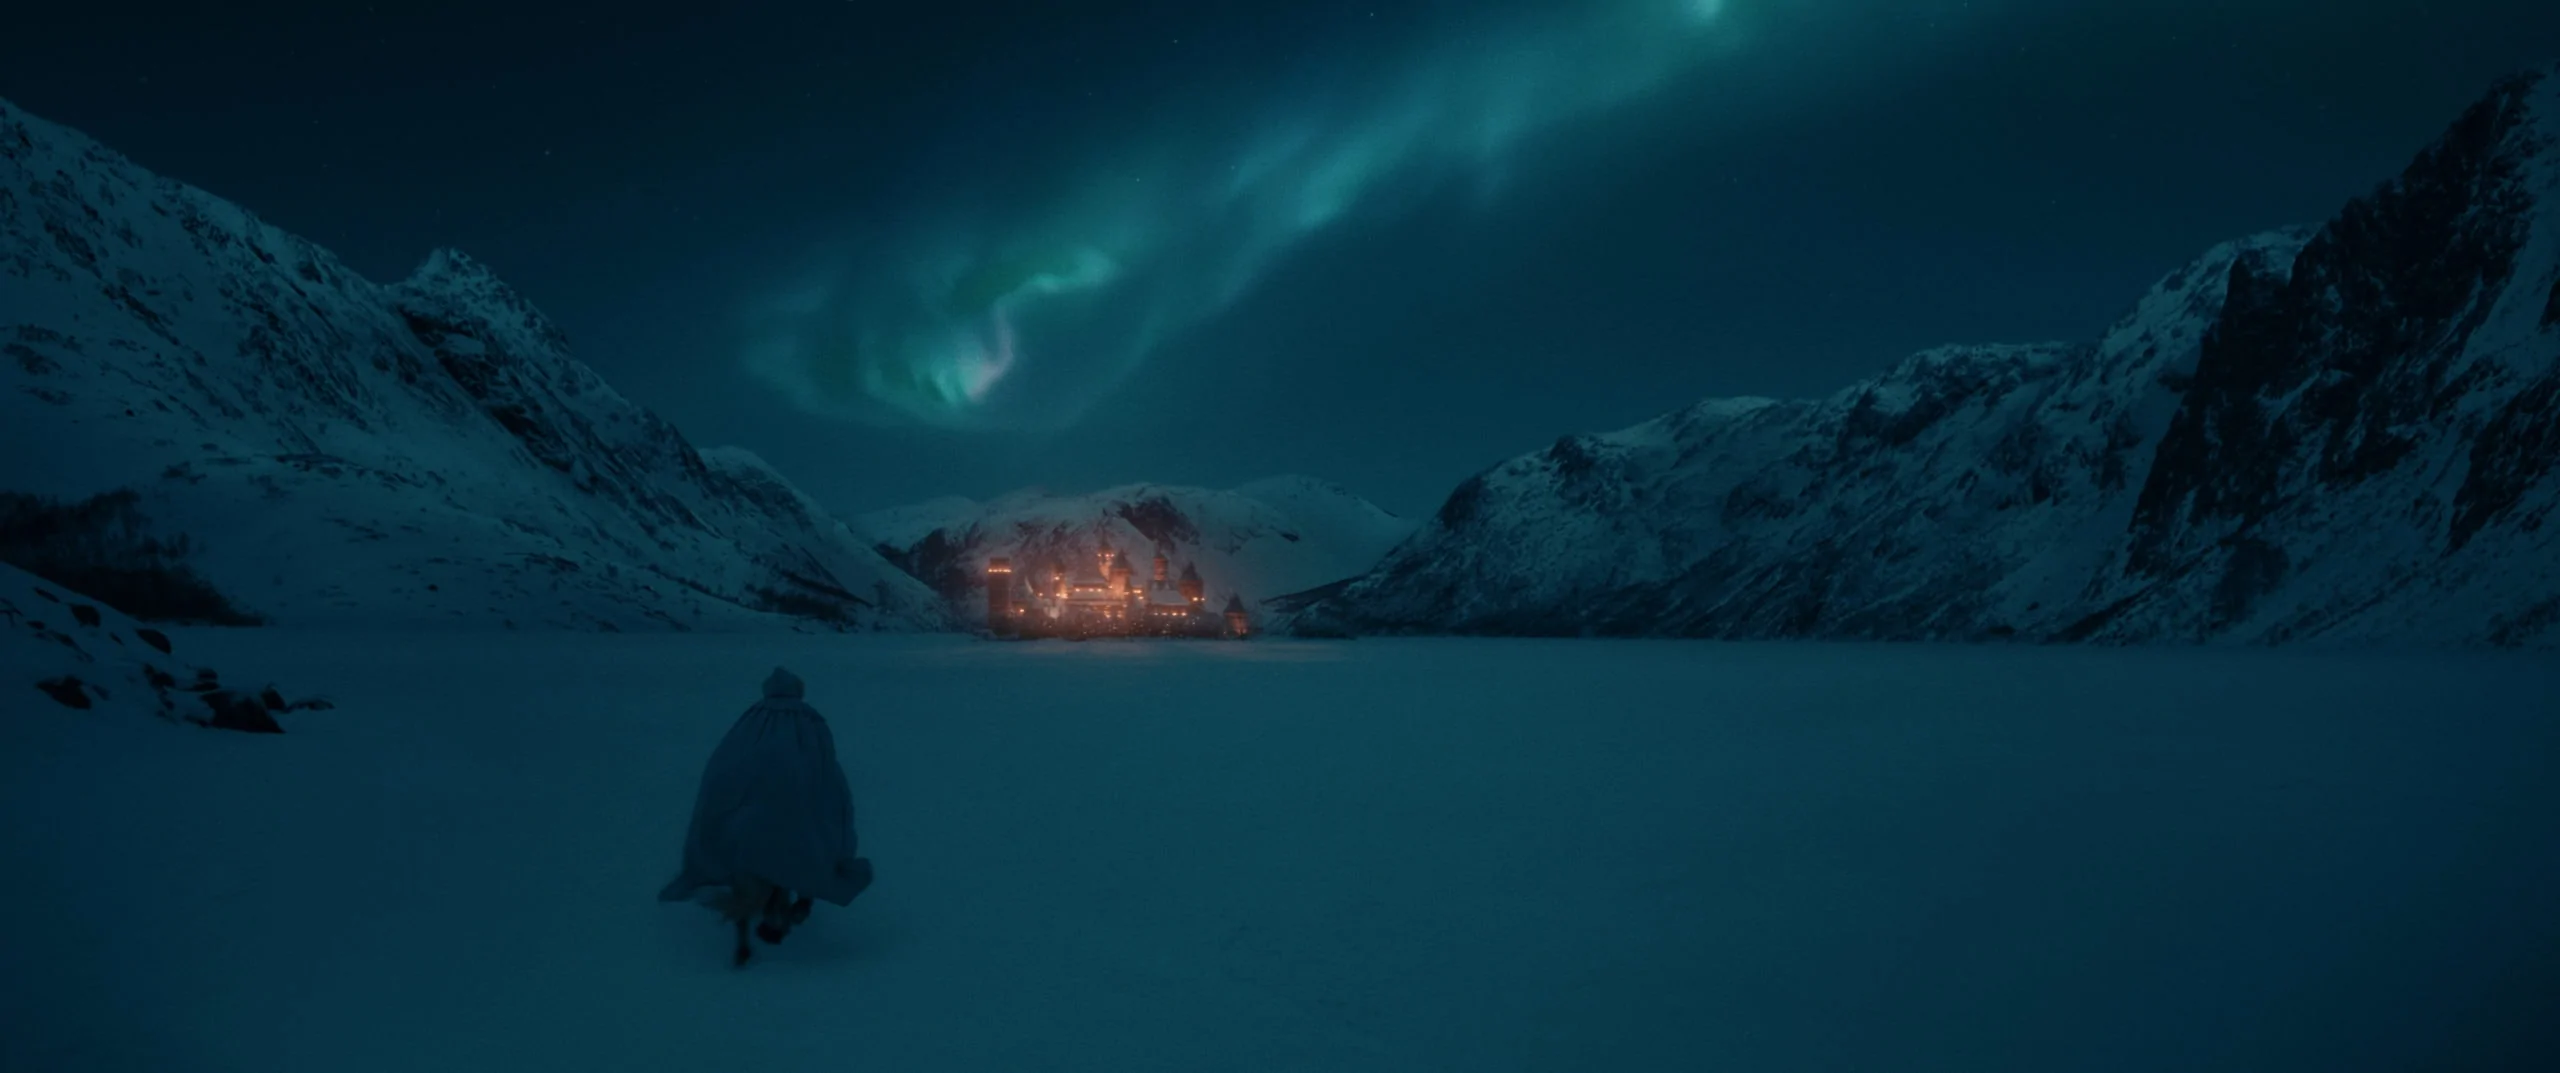
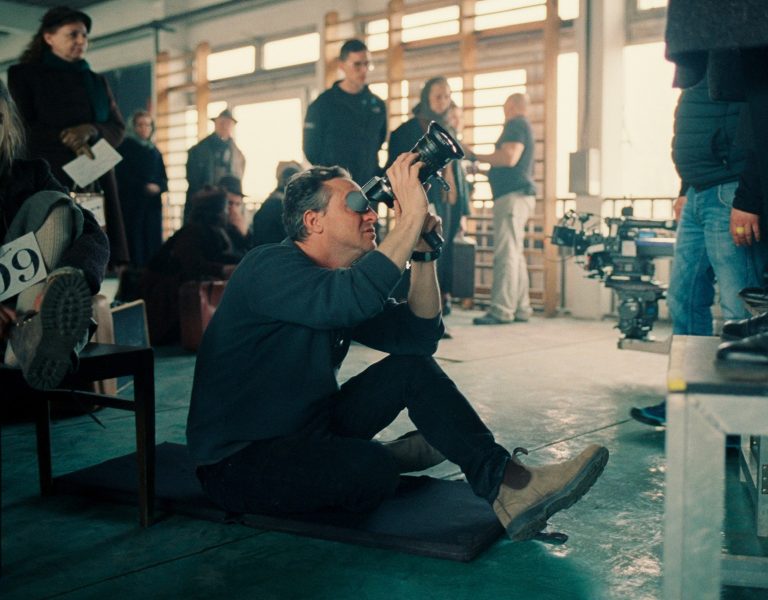
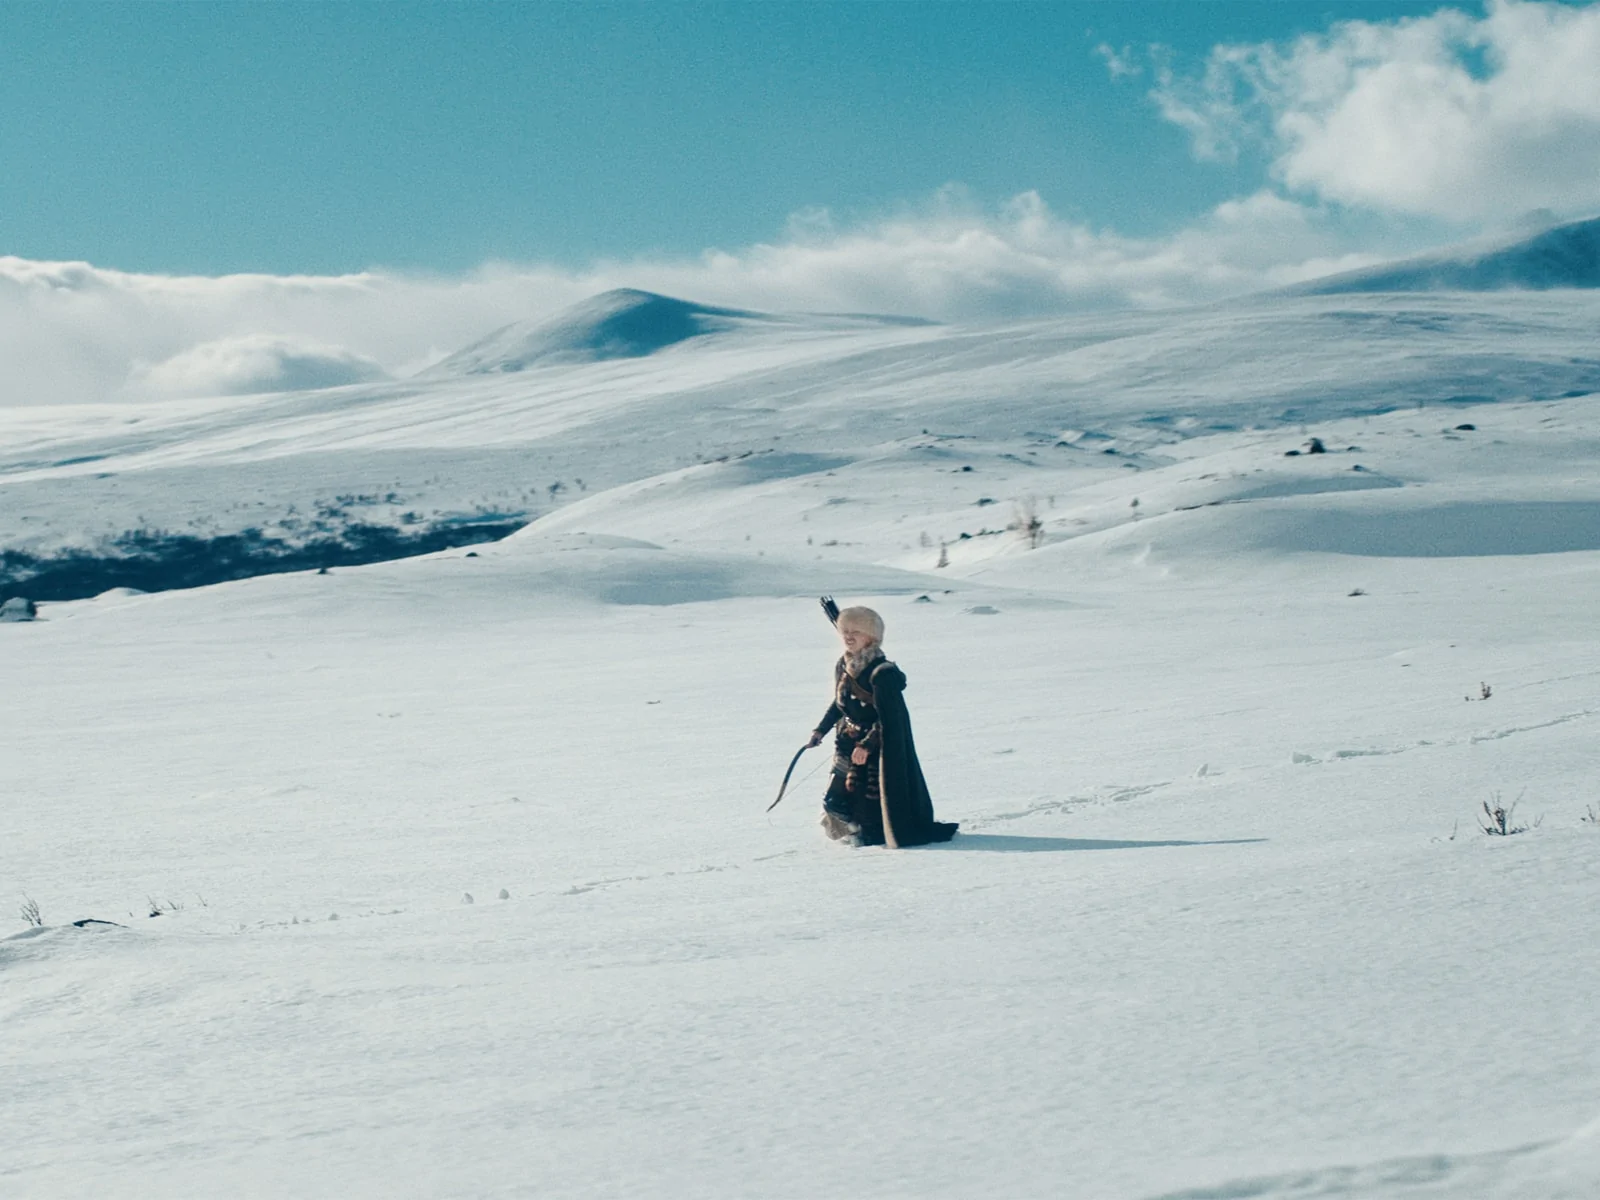
“Cecilie’s take was to create an arctic fairytale, with Cinderella as the queen of nature,” describes DP Trond Tønder FNF (Rottenetter, Vikingulven). “We didn’t want it to look like a glossy Disney-movie.”
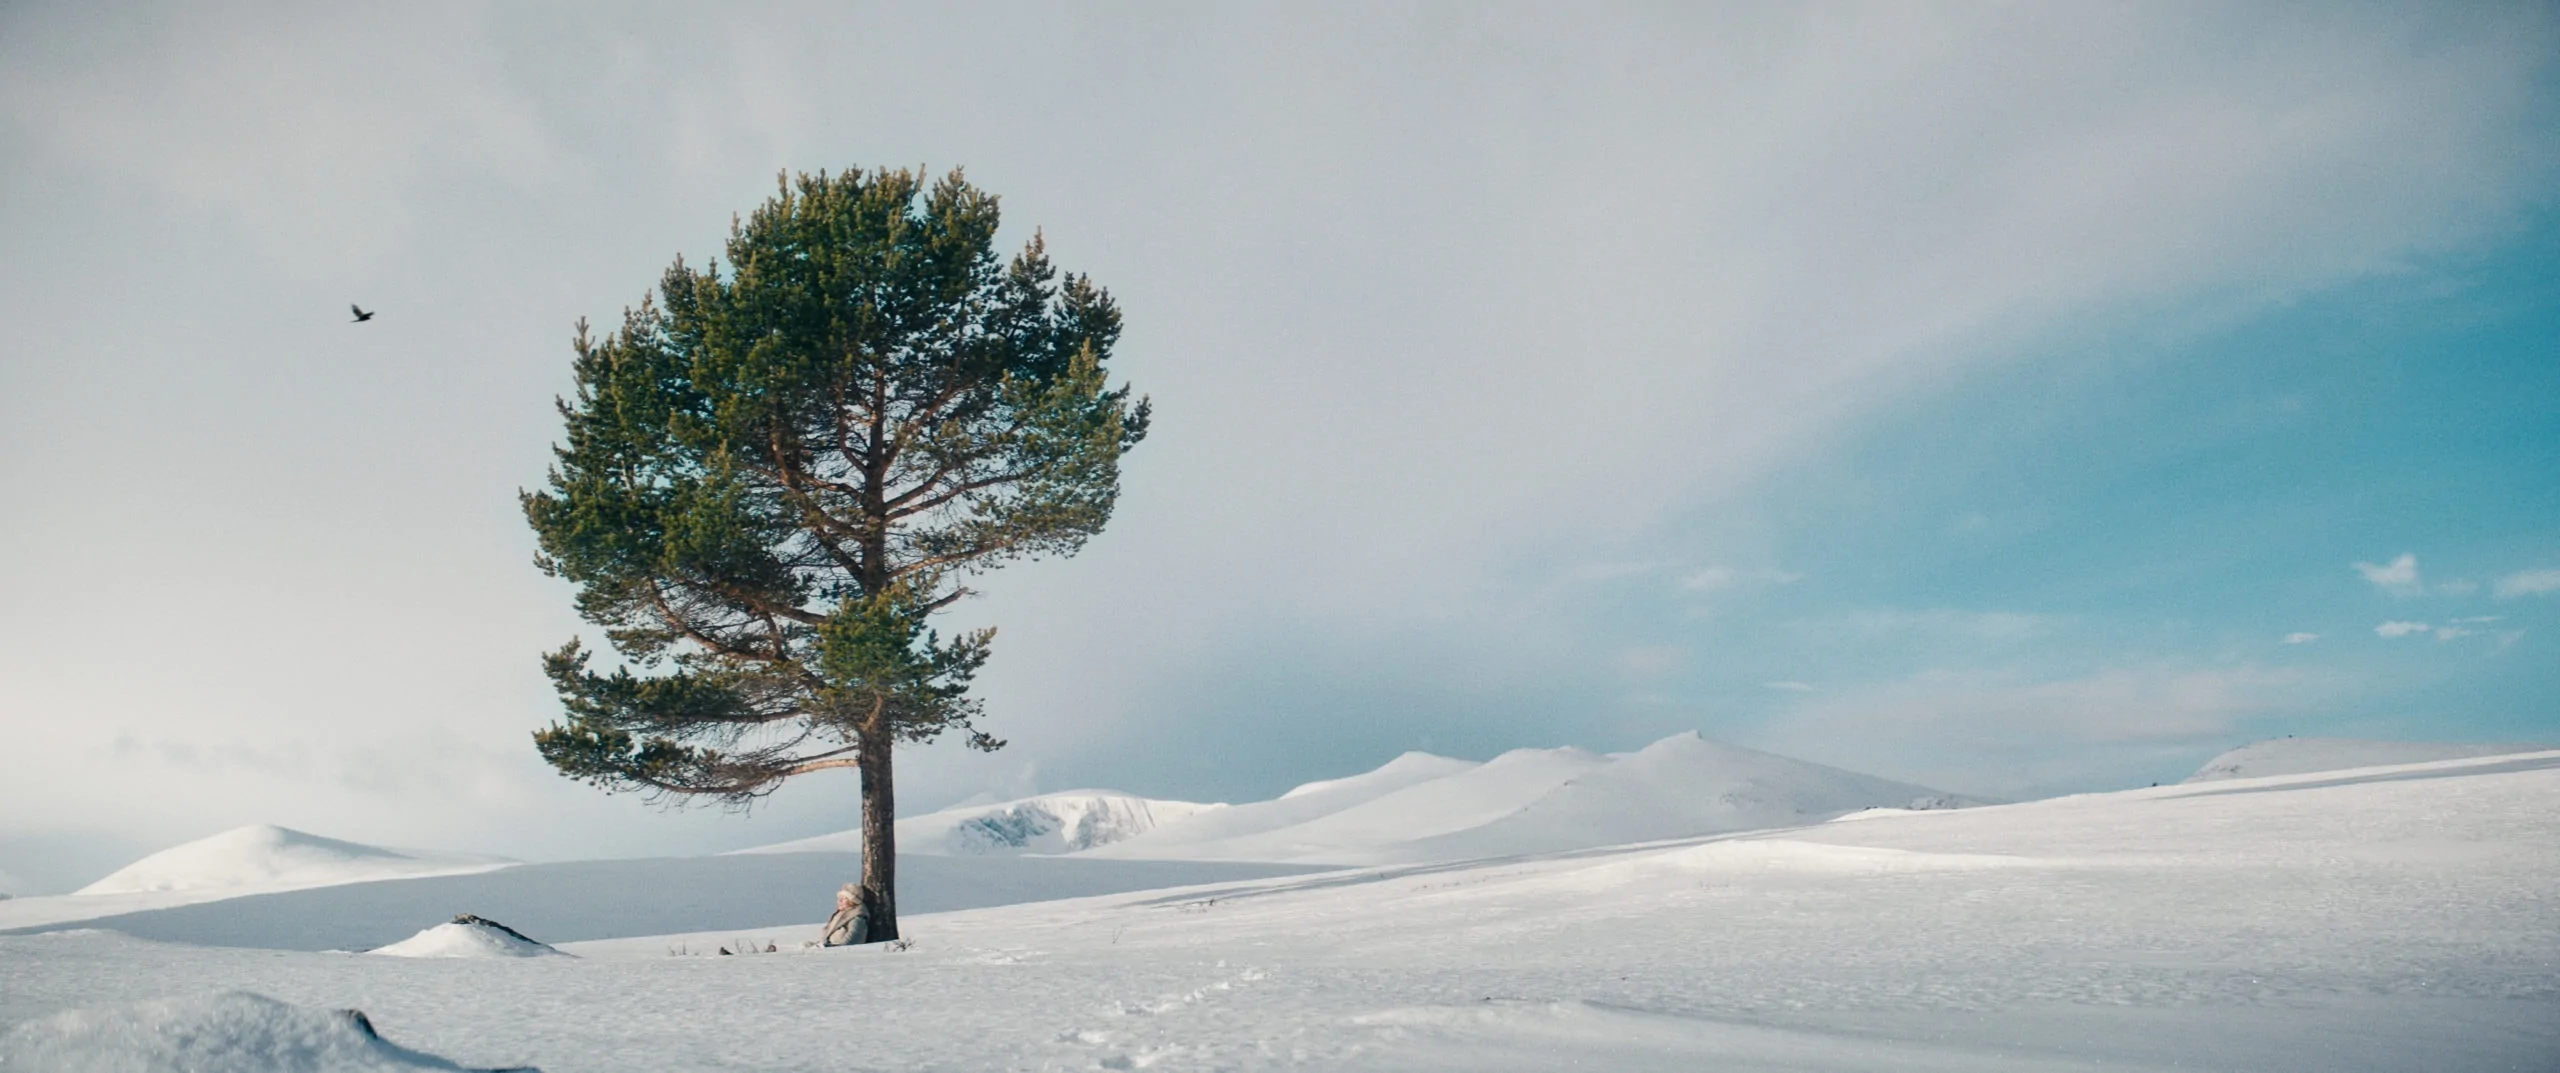
They eschewed studio sets to shoot on location in Norway “with real snow and biting winds,” he says. “Cinderella’s farm has 400-year-old wooden buildings. The texture in the sunburnt timber is quite amazing. All these details give the images a certain quality which we tried to enhance in the grade.”
Tønder chose to lens with Arri Master Anamorphic (2:1) on Arri Alexa LF explaining, “Since the film is a fairytale I wanted to have a certain level of abstraction and anamorphic does that, while also creating a feeling of something ‘larger than life’, which helps the story.”
The wide shots and big vistas in the film called for lenses that could render a lot of detail, and extensive use of gimbal and drone set limitations for size and weight.
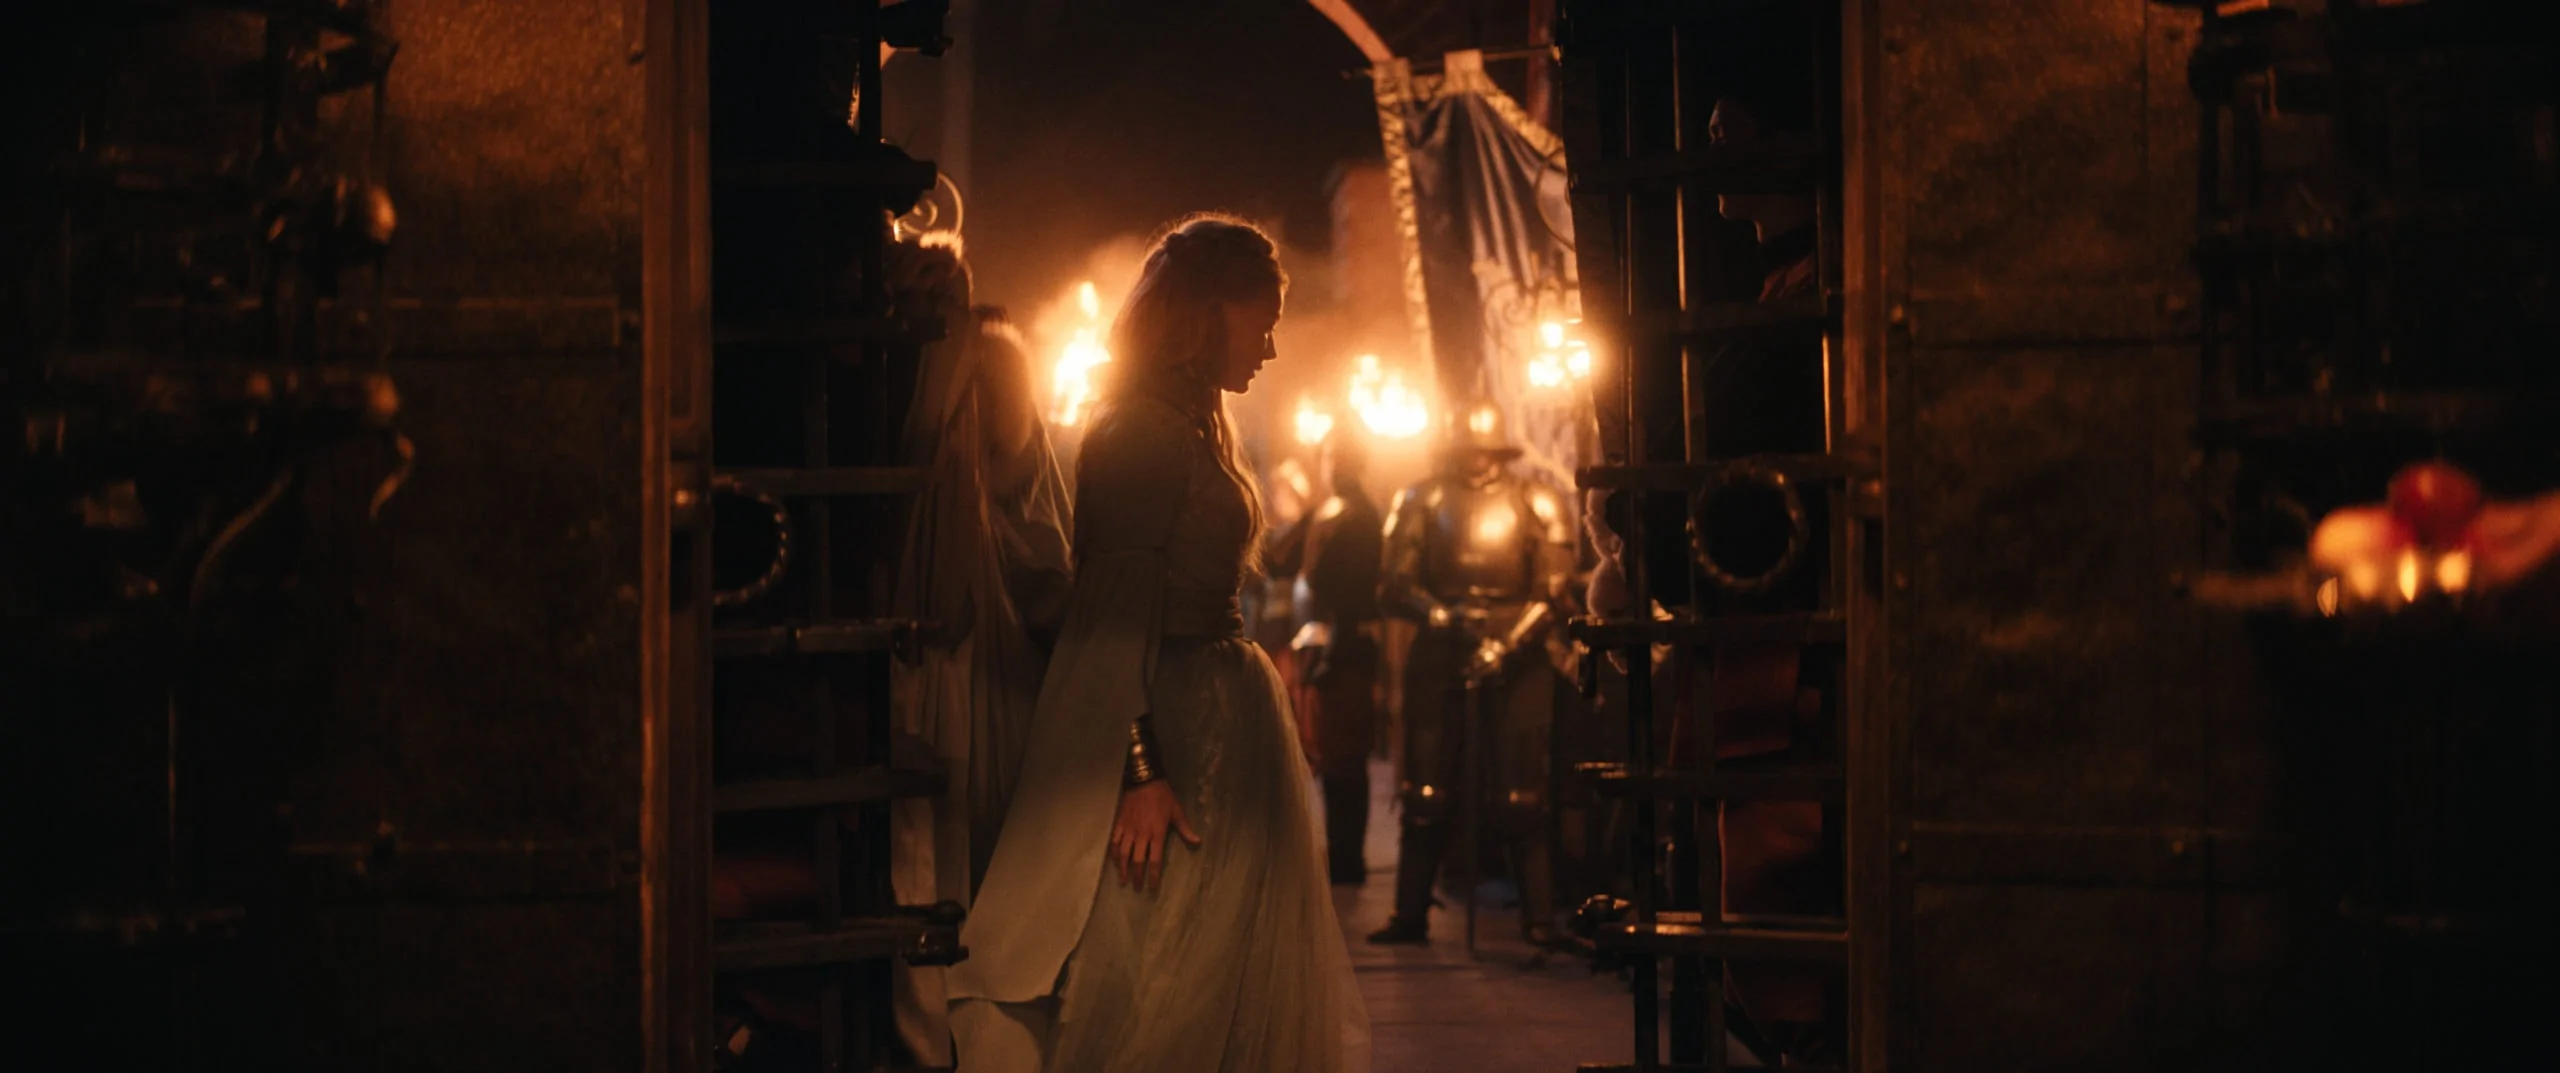
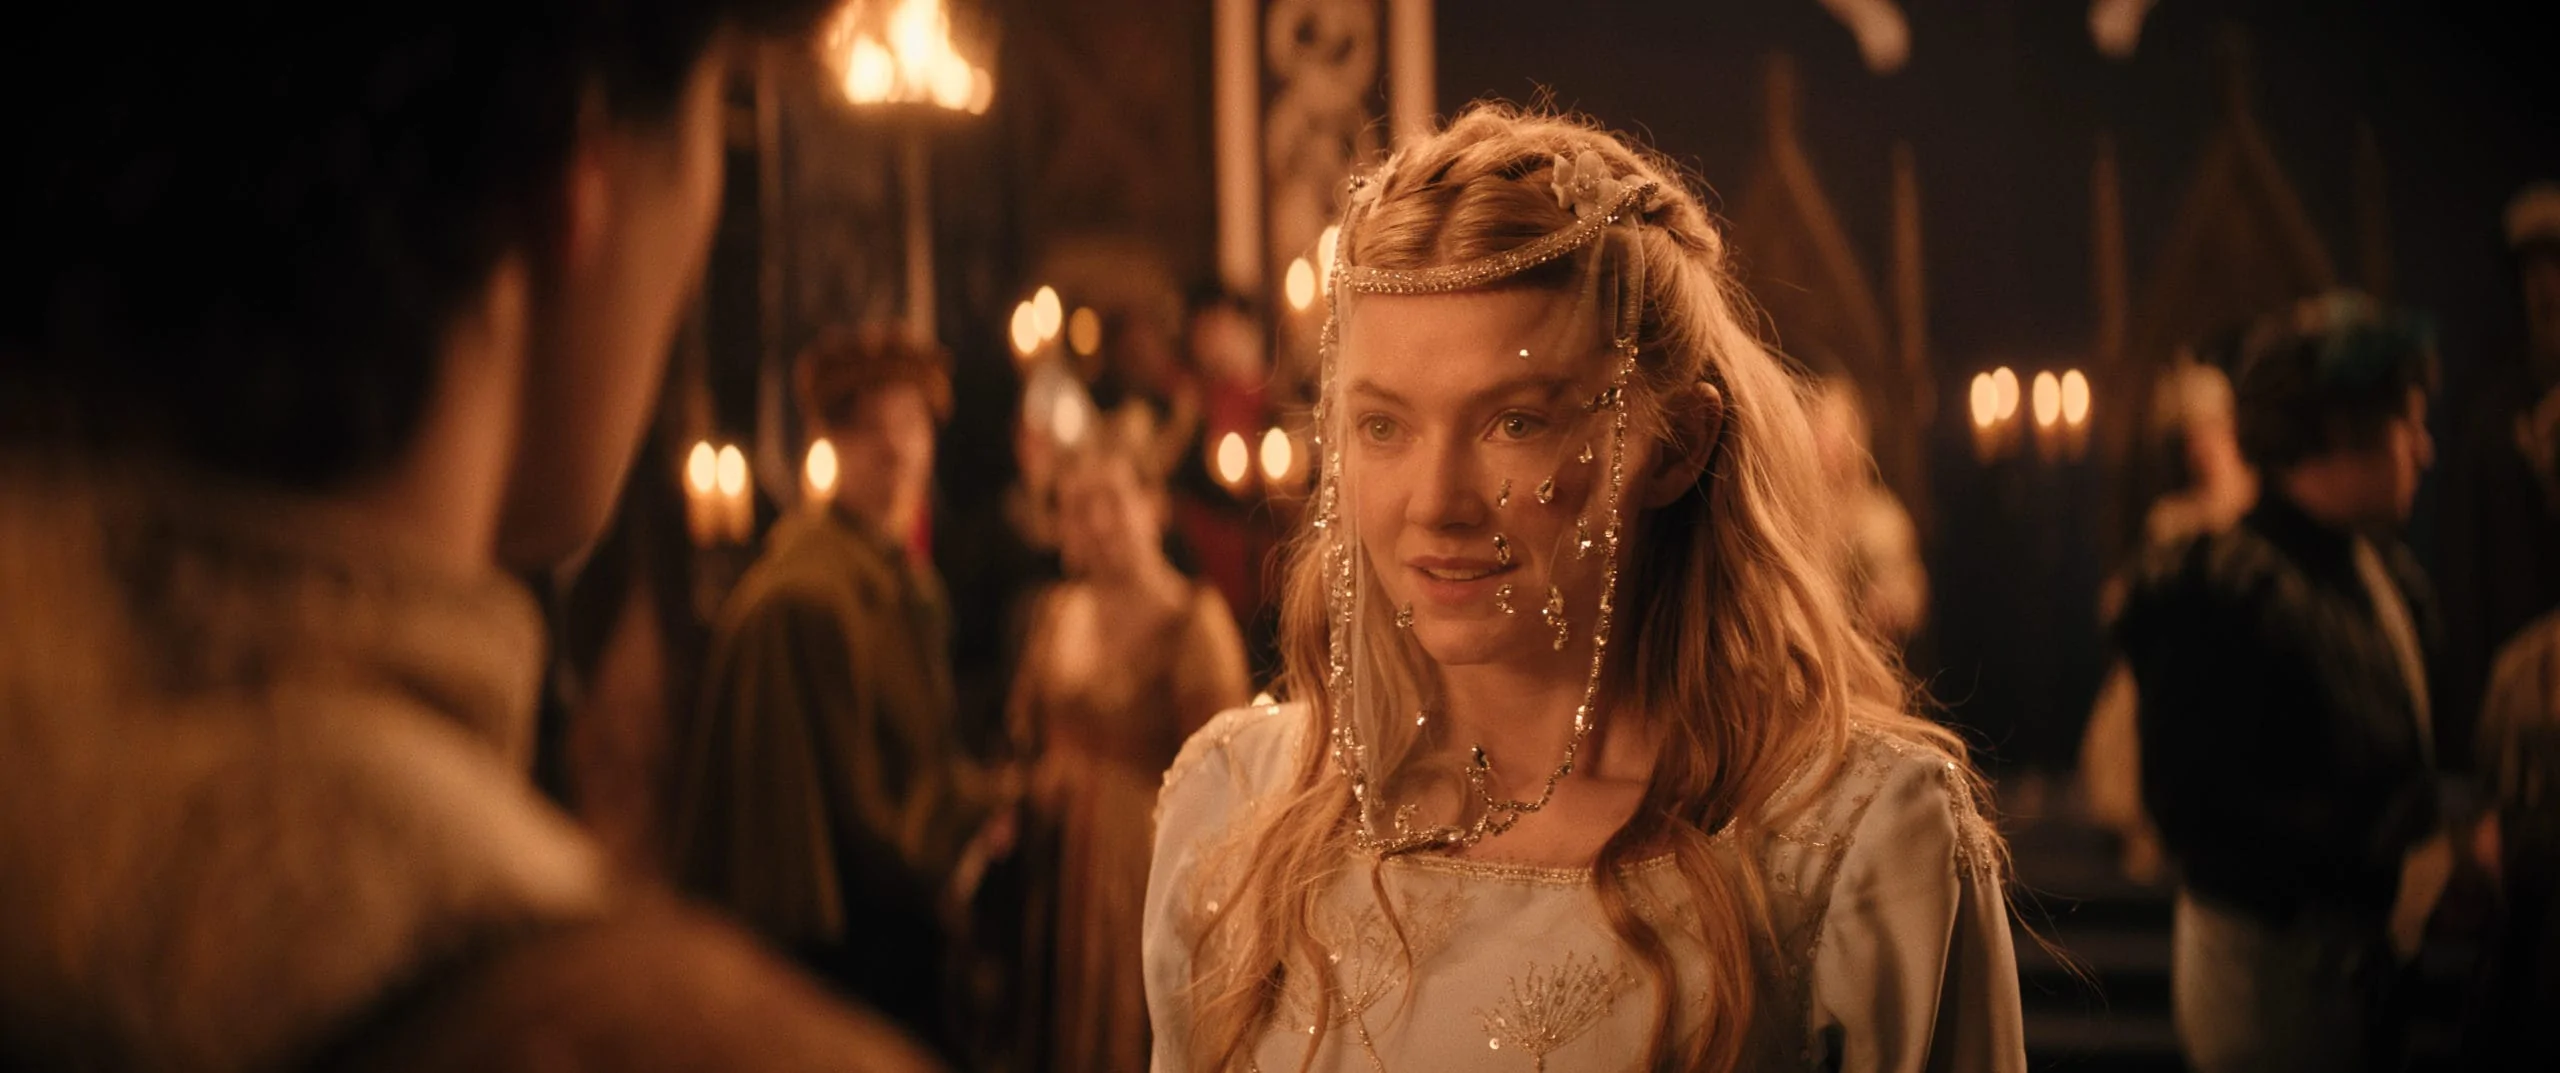
“The Master Anamorphics are meant for Super 35 but we shot full frame, and cropped the image right where the lens started vignetting. That way we could use the more ‘charming’ and interesting parts of the glass.”
He camera tested both snowy winter exteriors and daytime interiors with and without candlelight and with actors in costume to help set the foundation for the grade. These tests and a modified Kodak 2383 D65 Film Print Emulation formed the basis for the LUT-package.
“I always insist on doing a proper camera test with the main actors, wardrobe and makeup and try to get varied material to base the LUTs on. This is extremely valuable for all creatives, who will see the colours that will follow the film through shoot and post.”
During the shoot with Dylan Hopkin, Senior Colourist at Shortcut Oslo liaised with DIT Odeta Riskute who had a near-set DIT station for backups to hard drive and LTO. She processed editorial and uploaded dailies through Drylab Dailies viewer.
Hopkin explains, “I tweaked the highlight rolloff slightly to soften the highlights, added a slight boost to the red / yellow / magenta saturation to favour skin tones and twisted the cooler tones towards cyan to create broader colour separation.”
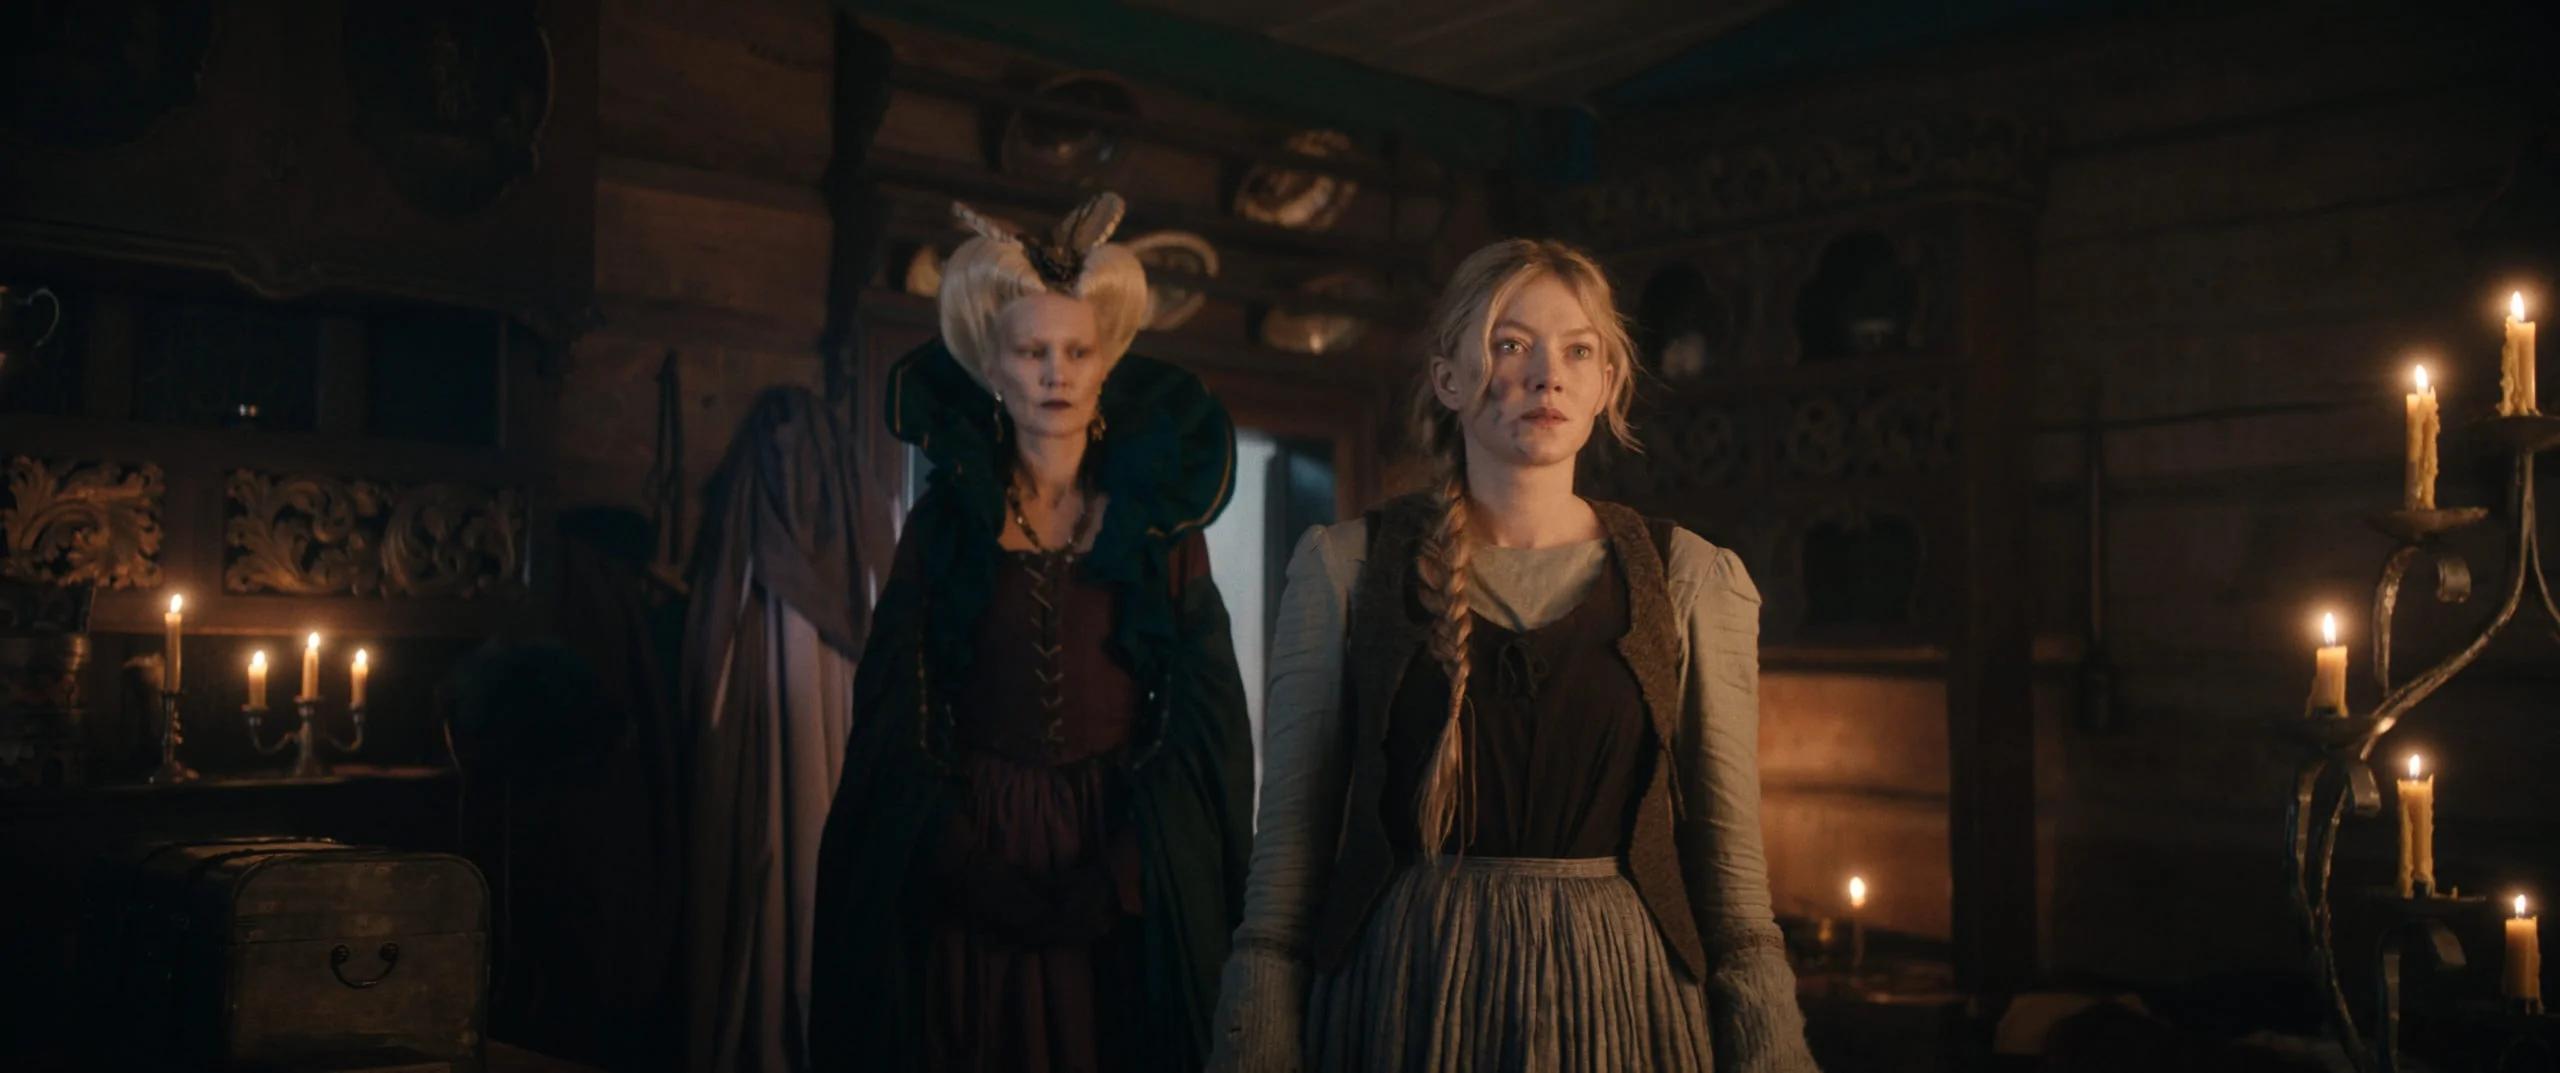
A couple of weeks after principal cinematography had ended, DP and colorist graded a selection of shots from the movie for use as references for creating promotional material including the main trailer.
“We used DaVinci Resolve’s Colortrace tool to copy the grades from the sales promo over to the trailer,” Hopkin says. “This gave us a better starting point for colouring the trailer. Then, when we began grading the actual feature film, I deployed the Colortrace tool again to transfer the trailer grades to the feature.”
With the DP busy on another project, this workflow meant Hopkin did the first week of grading by himself. “The way Dylan organized his setup in Resolve, we could work with a whole scene or sequence at once, without having to do adjustments on single shots,” Tønder says. “This made it very comfortable to be the DP in the grade!”
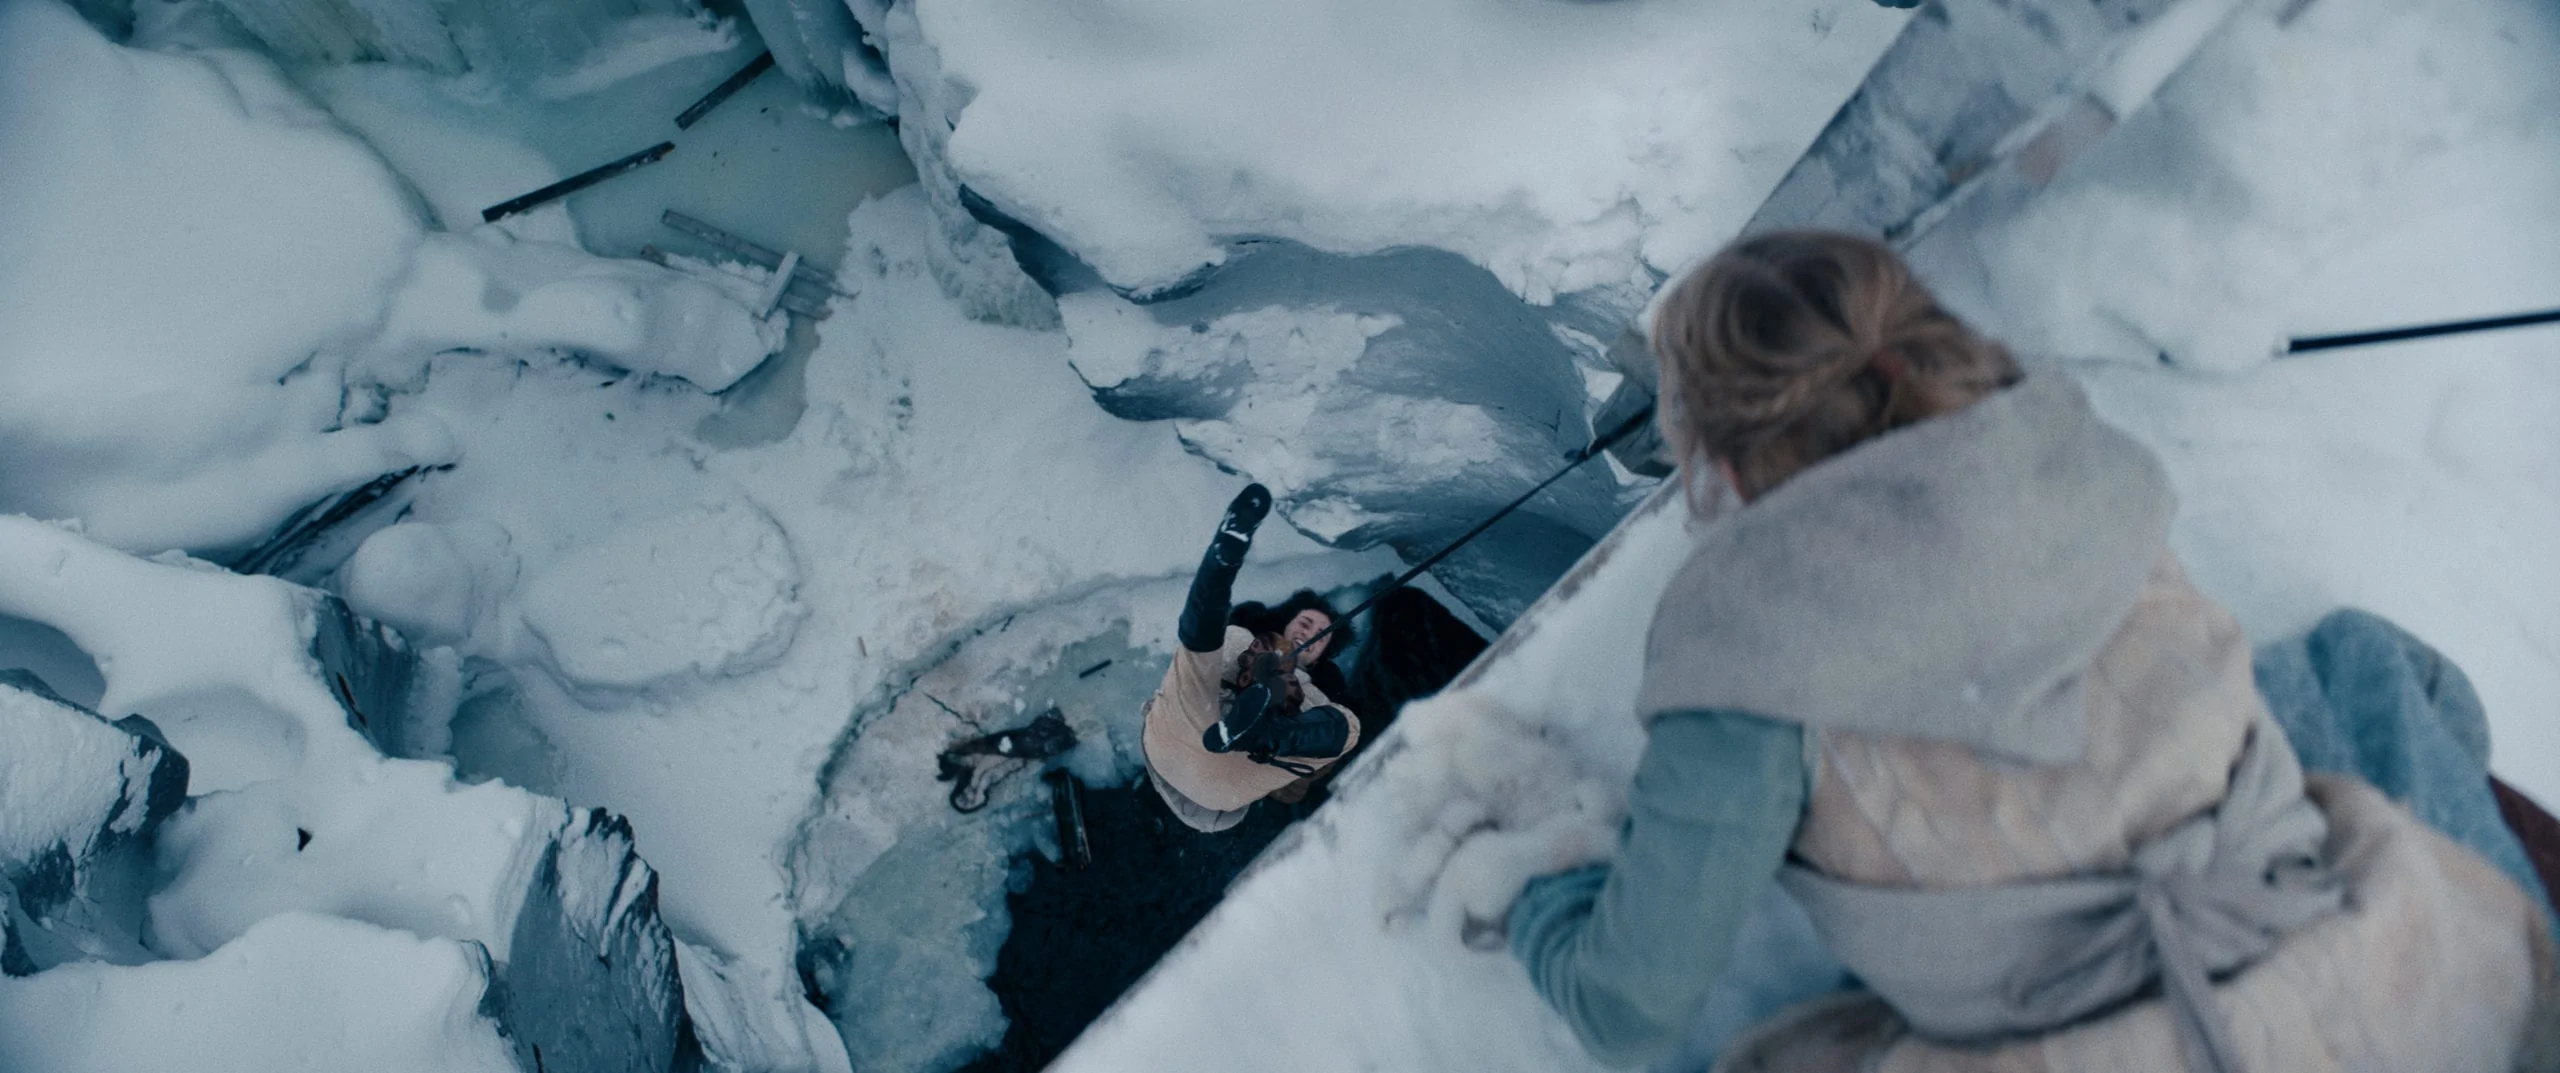
After the editorial was locked, the conform team at ShortCut Oslo loaded the Avid AAF and QT offline playout into DaVinci Resolve and performed a conform and split check. VFX shots provided by Oslo’s Storm Studios as 4K EXR-sequences were inserted into the timeline. The conform artist also divided the entire movie into scene-based groups in the Color-page.
“We tried to find the sweet spot between keeping it real and naturalistic yet building on the big emotions in the story,” Tønder says. For example, candle-lit scenes at the farm tend toward yellow while red was pushed more for the castle. “Dylan is a master at balancing magic and naturalism.”
