NATURE KNOW HOW
Providing a definitive overview of how to shoot wildlife is a near-impossible task. However, with help from a selection of brilliant and very experienced cinematographers, we can cover some of the ground rules.
In terms of kit, many cinematographers say the smaller the creature tends to be, the more things you need to pack to shoot it.
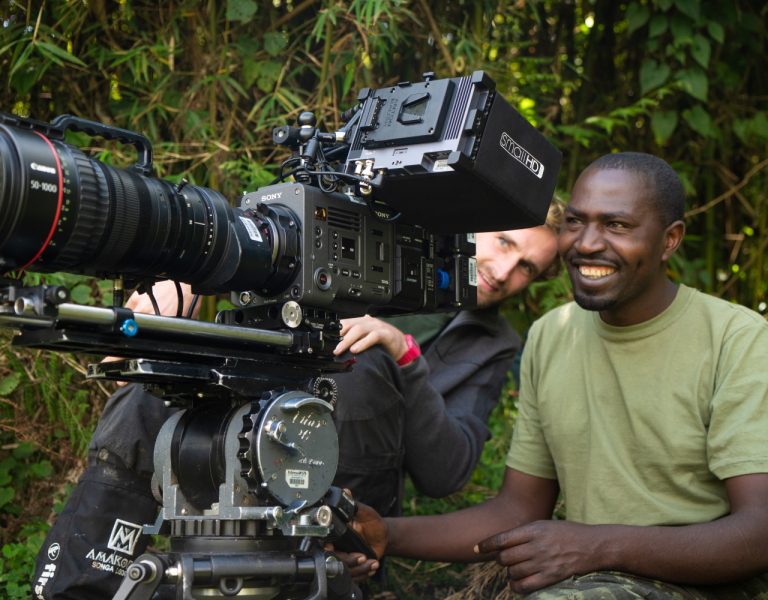
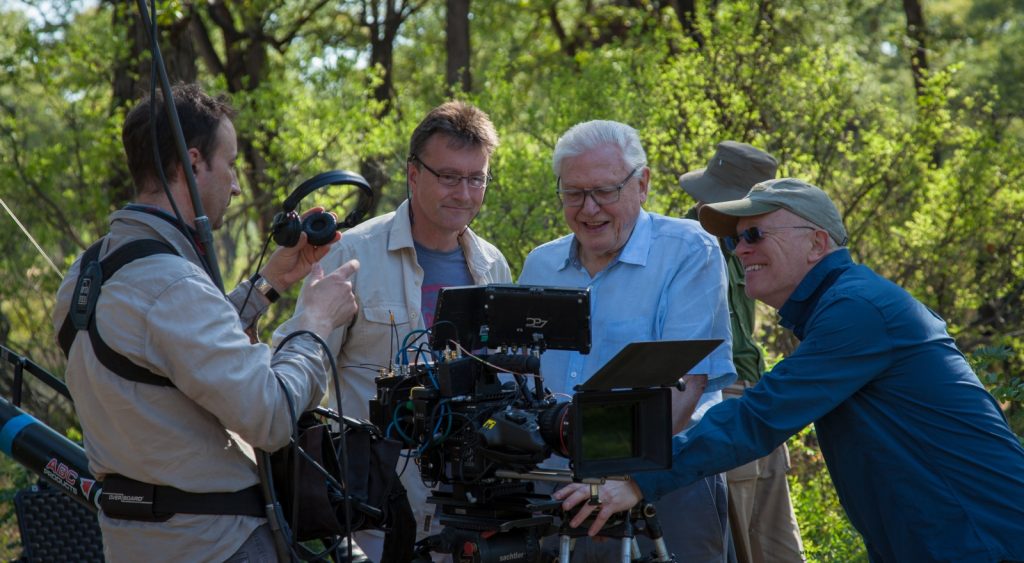
For shooting, the stalwart ARRI film cameras and Panasonic VariCam have been succeeded by a succession of RED cameras and the Sony FX9 as the workhorses for wildlife cinematographers.
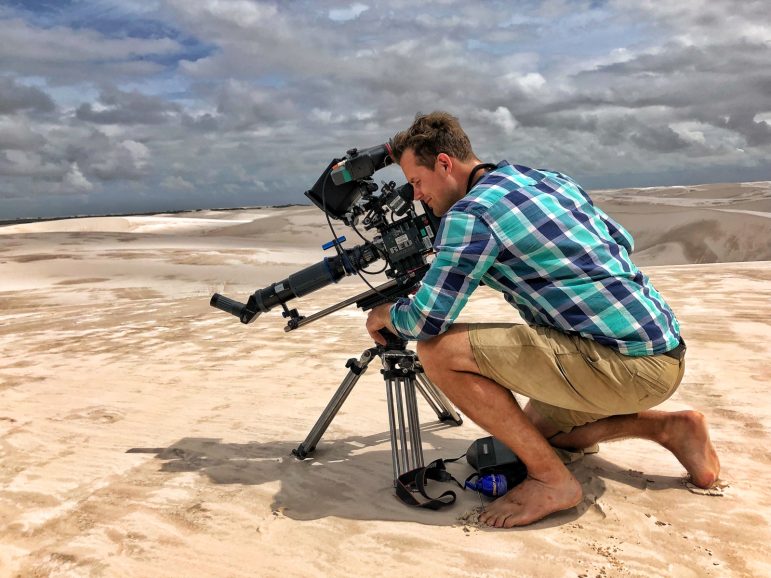
“The RED units are very compact and very versatile,” says cinematographer and director Jonathan Jones. “You have a huge amount of flexibility with framing. In natural history, you often capture a moment that you need to reframe slightly. Or if you’ve shot it very static, you might need to push in and track, to make it a tracking shot so that it cuts with the next one.”
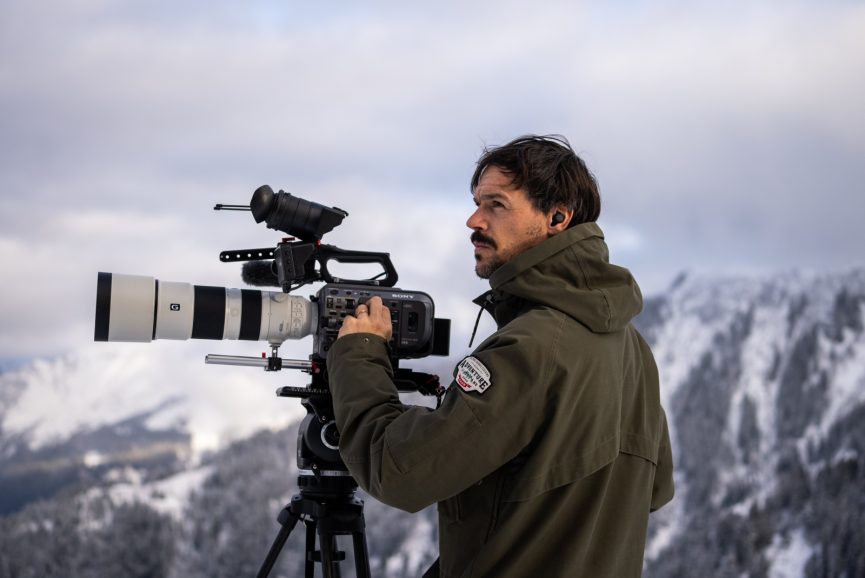
“The Sony FX9 is like a documentary camera,” says Mathieu Le Lay, a filmmaker based in the French Alps. “When you travel to remote locations and you want to be discreet, you don’t want to bring a crew of four. It’s got a very cinematic image, records audio nicely, and has variable ND. And I always bring an Alpha A7SR, a small mirrorless camera. I love that combination, especially in low-light conditions.”
As in any cinematography, the subject determines the lens, but the Canon CN20 50-1000mm cine servo lens seems to be a constant choice.
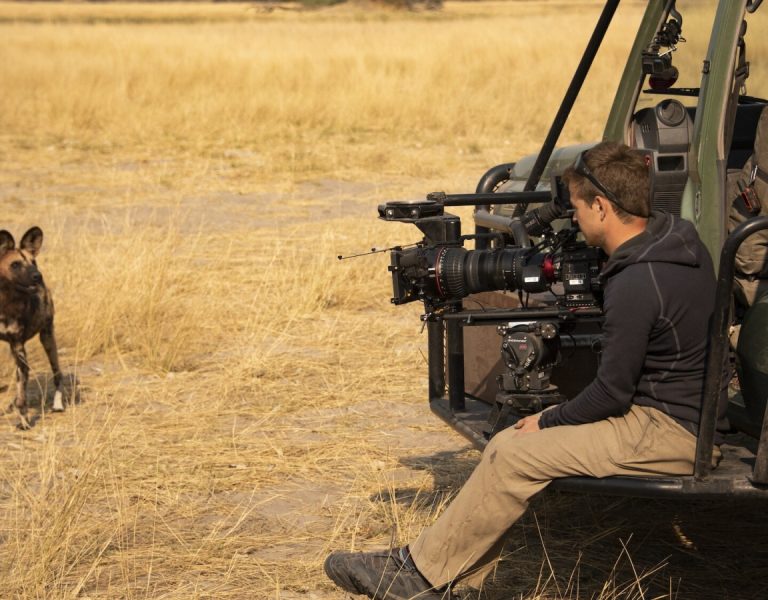
“That lens has been a game changer. It’s one of the unsung heroes of wildlife filmmaking,” says wildlife DP and cameraman Paul Stewart. “A zoom lens is your composition tool – zooming out, finding it and then zooming in to the sweet point of the composition. If something is close up, the focus motor is a very nice way to do the micro changes you require without transmitting vibration.”
Telling the story
Mathieu Le Lay includes natural elements in his compositions that convey his emotional reaction to the environments he’s shooting in. Patience and contemplation are key: “If you take the time to just observe and listen, you’ll miss some of the things happening in your surroundings,” he says.
“If it’s a dramatic subject, say a hunting snow leopard, then you might want to have it centrally framed,” says documentary cinematographer Duncan Parker. “In a scenario where you’re setting up the character in its landscape to build a story, I go slightly off to one side. I use the landscape to guide me, preferring to have a leading line in the foreground that pushes you to the middle third.”
“From very early on I’ve always tried to have the classic thirds framing, but considering all the time how the action is likely to develop,” says Stewart. “Can I just leave that frame static? Will the behaviour develop into it? Then if it goes the wrong way, you try again, but if it goes the right way, it almost looks like you are predicting the future with your framing.
“The main thing (and the CN20 helps) is to get the really big close-up,” he continues. “From the moment you’ve got that shot where the head or just the eyes are filling the frame, viewers are empathising with that creature. You’ve changed it from being purely observational.”
Parker suggests focus peaking to keep things sharp. “If I boost the sharpness by about 6% on the RED monitor, it helps to nail the focus. Focus assist on the SmallHD monitors is also good.
“I’ll use the monitor if I’m doing gimbal work, but in a hide with the long lens, I’ll use the viewfinder,” he adds. “For moving animals and tracking, even if the body goes out of focus, or if you’re at a shallow depth, keep those eyes sharp.”
“My favourite [focus] method is to use manual, but I’ll also use some form of mechanical focus on a very long lens,” says Stewart. “Vibration is always noticeable; it can be the tiniest bouncing movement on a static shot, but it just spoils it,” he adds. “If there’s an 80mph wind where the action’s happening, you’ve got no choice; you just learn to hide those vibrations and errors in your tilt and pan.”
“By reading the animal’s body language, you can position yourself based on knowing how the animals respond and where they’re going to go,” says wildlife DP Miguel Willis. “There is a certain degree of needing to be ready to respond quickly.”
“Once you know an animal, a lot is to do with anticipation,” agrees Stewart. “If that tortoise takes three steps towards you and then stops every time, you’ll know to pull towards that stop even before he does.”
Creative touch
David Baillie, who also works in drama and commercials, is one of many who feel that wildlife could be covered in more interesting ways.
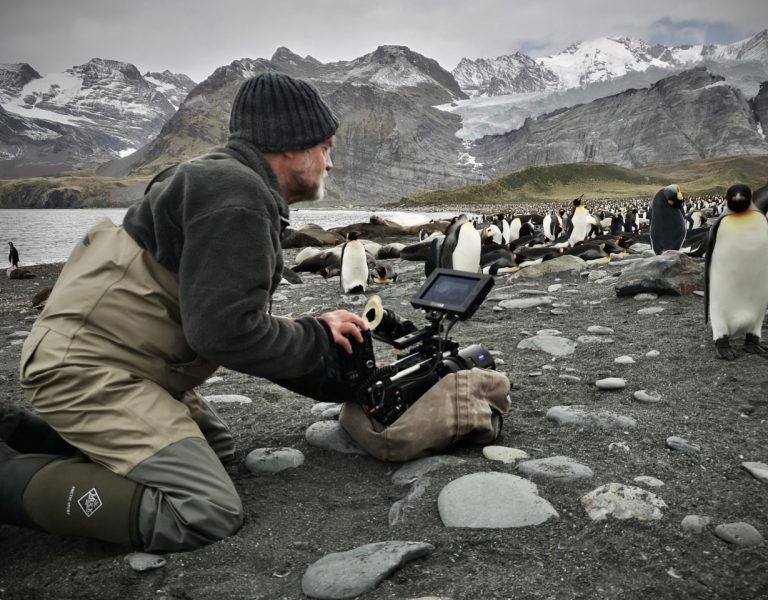
“With a lot of wildlife, you sit in the hide and need the longest lens possible. Once you’re in the hide, you can’t move, so the shots are very similar,” he says. “But with wildlife that you can get close to, I’m a great believer in working with a slider and a wide-angle lens; if you get a bit of movement on a wide you get a parallax effect, and that little extra dynamic can add drama and life to an otherwise static shot. We shot penguins in South Georgia in anamorphic on quite wide primes, and it was just fabulous.”
Jones tends to get involved in sequences that require more than just capturing the animal. “For example, you can tell the story of how a lack of water causes elephants to struggle in certain parts of Africa. The last strips of water, the cracking of the ground, and the heat haze are all story elements that aren’t just the animal walking through the frame.”
Understand editing, he advises. “If you don’t know how your footage cuts together, then how can you possibly know what to shoot?”
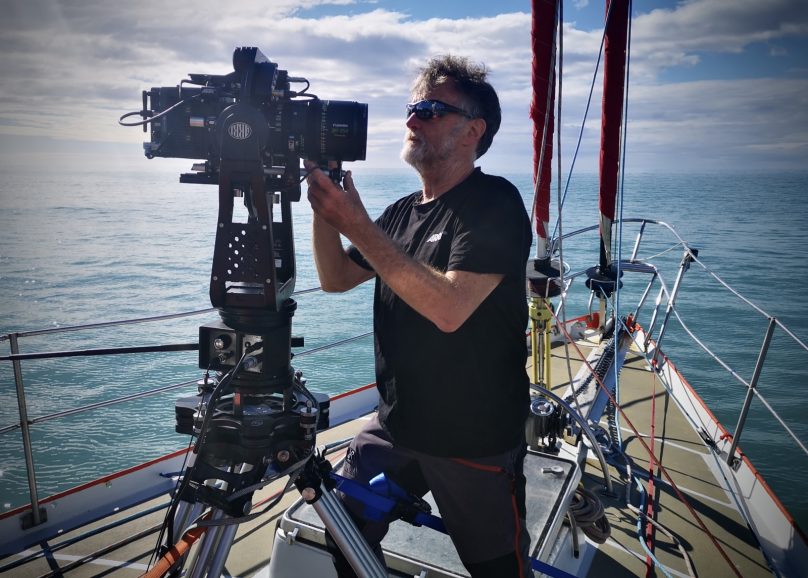
For stabilisation, Baillie has used the ARRI SRH-360 remote head on boats, “shooting [animals] on a beach or the land for a different perspective”, while Willis is a big fan of the Steadicam. “It’s a lot easier to get low and have a great degree of subtle control that you don’t always get with gimbals, moving around the animal with much more finesse and composing shots better,” he says. “I’ve also mounted my Steadicam with a gimbal on it to use like a crane shot when filming rockhopper penguins bouncing up a cliff.”
Many cinematographers shoot with ‘baby legs’ tripods that allow the camera to be around a height of 40cm – the eye level of many animals. “If you’re on a cliff face or rock face, I’ll often bring a sandbag and pull that tripod down deep to the ground as possible and create stability,” says Parker. “If conditions are windy, you need a few bar supports on the long lens.”
Jones likes to travel with a crane. “You can drift, you can push over a cliff face, you can take your audience in and out of the stories,” he says. “I’m a big fan of keeping the camera moving; I like those stories to be dynamic [especially given the short attention spans of children like his own, he adds].
“However, if the behaviour is amazing, and the animal is doing something remarkable, then you don’t need to move the camera because just seeing it or capturing it is enough.”
Looking after your kit and yourself
Filming wildlife can involve working in remote or extreme environments for many weeks without support.
According to Jones, you need to be aware of your surroundings, both weather and knowing culturally what you can and can’t do. Mutual respect for everyone on the team is also vital – you’ll spend a long time together.
“Local knowledge is precious,” says Le Lay. “Local guides know the environment and the habits of the animals – where they [normally] stand, rest, or hunt.”
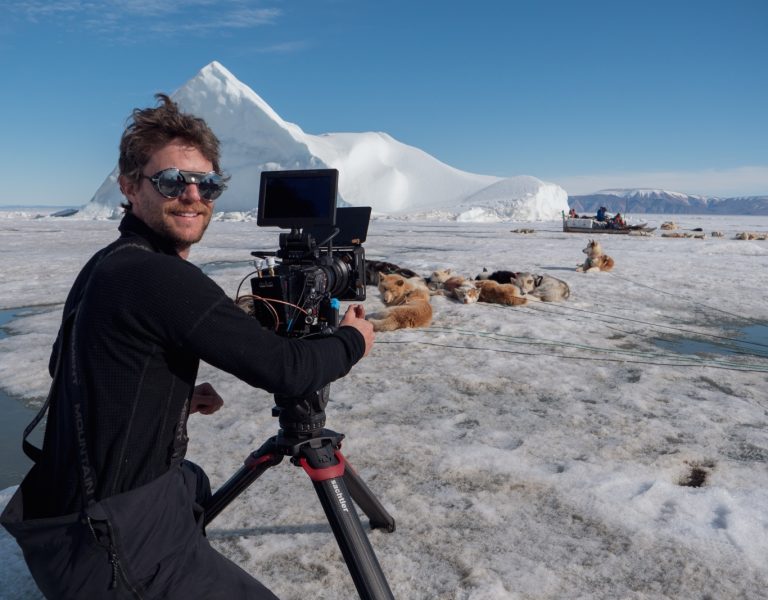
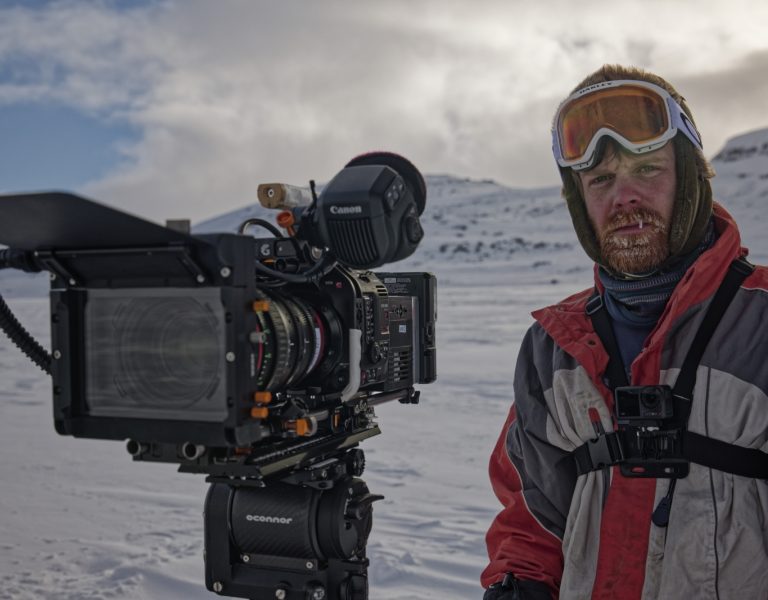
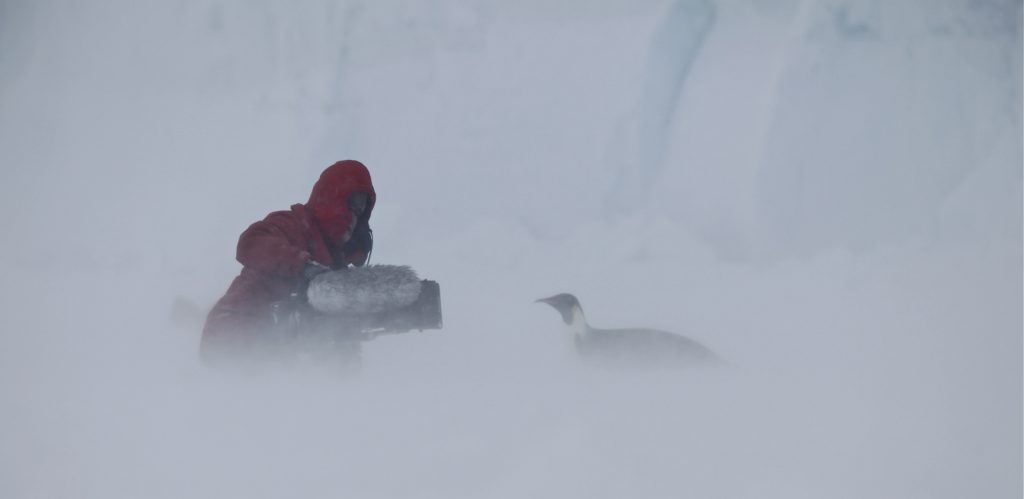
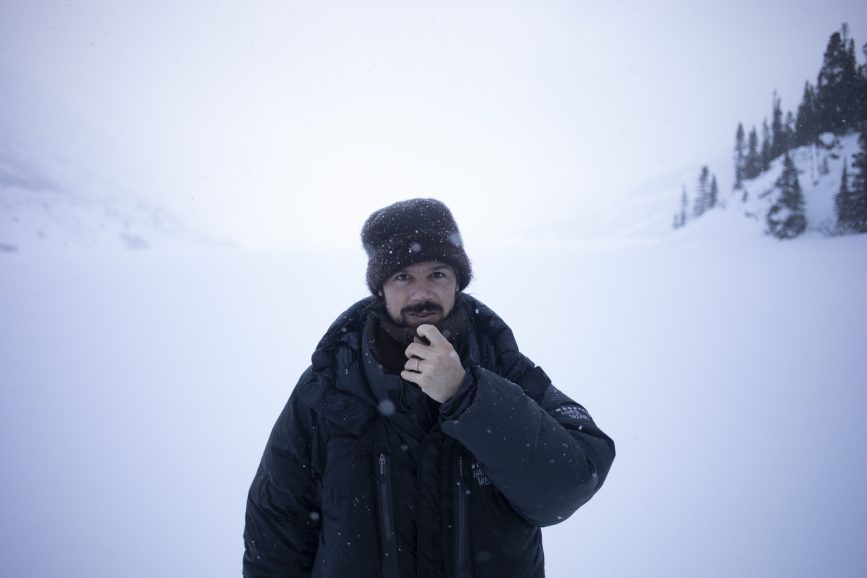
Le Lay says filming in extreme environments means remembering to keep hydrated, not just keeping the body warm – he recommends layered pairs of gloves – but the gear too, particularly batteries. “Filming in the Yukon, we had about six hours of daylight, so solar panels couldn’t recharge the batteries,” he says. “You can’t shoot if the batteries are dying, it’s game over, so we had to keep the batteries inside our clothes, close to the skin, even having them in the sleeping bag while we slept!”
“When it’s below -20°C, you get a lot of latency on the image because the LED screens tend to slow down in that temperature,” says Parker. “We’ll build a wall of ‘handwarmer’ heat pads around the monitor, topping them up every three hours. We often use outdoor kit storage at -3°C, so it doesn’t fog.
“In jungles, one of the things you encounter is condensation and build-up of mould,” he adds. “We normally have a Peli case filled with silicone balls and put heated pads inside. If you get moisture in any component, whether it’s lenses or inside a camera, it goes in there overnight and the silicone sucks out all moisture.”
“Cameras have got better humidity and moisture seals these days, it’s inevitable when shooting in the tropics,” says Stewart. “Salt spray [on islands] is a big problem – it’s a combination of a corrosive substance and water. You learn what combination of bags, umbrellas, and then TLC with silica gel late at night is enough to get you through.”
Lighting the way
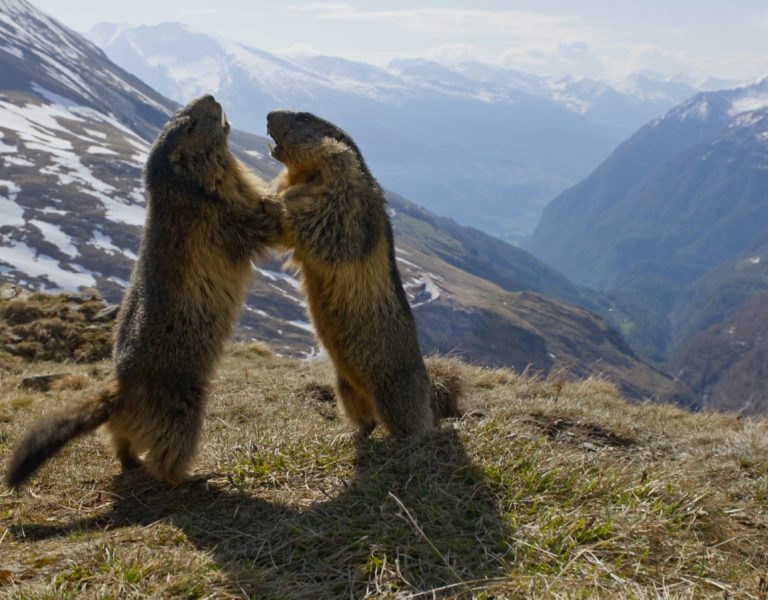
Le Lay prioritises using natural light in his filmmaking, often pushing the contrast in the shadows and using silhouettes for aesthetic effect. “I always try to play with a mix of light and darkness,” he says. “I never use artificial lights.”
“For the Planet Earth shoots we were so far away from snow leopards, but we knew the sun was going to hit a hill in a particular way,” says Parker. “I positioned myself to get some nice side light and when the animals went near the rock face, you’d get the fill from the reflection of the natural light on the rock.”
When working with lights, Parker uses RoadRags, “a portable set of flags and gobos, bounce fills, and interesting things”, and modifies them such as adding camo netting over the top to get ‘under the canopy’ dappled lighting.
“With the latitude of the cameras now, we’ve found that we can capture beautiful images in the heat of midday without losing any highlights and create that mood of heat more successfully,” says Stewart. “Equally, rainy and cloudy days can give you phenomenal moods if you pull out to a wider scene.
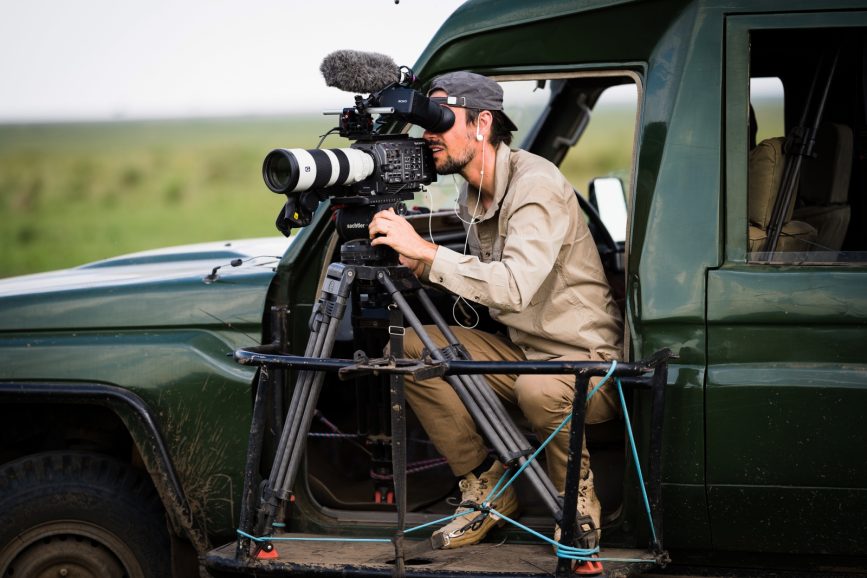
“These days, especially with skilful grading, people are being braver about developing grittier sequences that show how the animal actually lives,” he adds. “It isn’t all about beautiful dawn light.”
“If you’re filming anything the sun is fantastic, but if for whatever reason it’s overcast, I can backlight the subject,” says Jones. “I’ve taken a small Joker-Bug HMI lamp with me on pretty much every shoot.”
You’ve got to power those fixtures, he notes, though LED lighting has made this easier. “Sometimes a good reflector can do wonders,” Jones says, warning of the dangers of it looking too artificial when bouncing light onto a subject. “Another thing to remember is there’s only one sun, especially if you’re filming something shiny, or if you’ve got multiple highlights in the eye.
“The viewer should never know the difference, whether it’s lit artificially or naturally. It’s also what’s right for the animals. As filmmakers, we need to make sure that animal welfare is number one.”
–
Words: Michael Burns
